Kokoshniks usually complement stage, dance and circus costumes made in the Russian folk style. I made a lot of them for artists, and now I want to tell you how I made a kokoshnik for an artist of a circus performance based on the Russian folk tale “The Frog Princess” in the genre of illusionary transformation.
This kokoshnik was created to order and had to be in harmony with several dresses of the artist who played the role of Elena the Wise. Therefore, I decided to make a gold-colored kokoshnik, and decorated it with large sewn-on rhinestones and beads of different colors, so that it looked beautiful with all the colors of the artist’s dresses, which she would instantly change in front of an enthusiastic audience right on the arena in a split second.
Content
- Required materials
- Sketch
- Necessary measurements
- Preparation of the picture
- Tailoring
Necessary materials
- Felt - 1 sheet 50 x 50 cm, 5 mm thick
- Nude supplex
- Red velvet
- Fabric for the bow (dark red jersey with a shiny surface)
- Decorative wire
- Body elastic 2 - 3 cm wide
- Material “gold crumb”
- Glue “Moment” (large tube)
- Glue B-6000 (if you are gluing cold fix rhinestones)
- Large red beads 15 - 20 pieces
- Gold beads large and small
- Rhinestones Crystal hot fix size 20ss - 2000 pieces
- Large sew-on rhinestones AB, red, blue, green
- Medium sew-on rhinestones black and gold with AB effect
- Thermal applicator for gluing hot-fix rhinestones
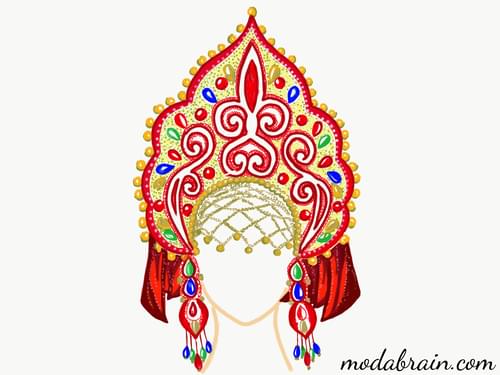
Sketch
As usual, I started with a sketch.
It was necessary for me to make such a kokoshnik so that it would not only be beautiful, but so that the artist could also dance in it, as well as perform various tricks. And also the kokoshnik should be light, practical and strong, so that, if necessary, the artist could work in it for 3 performances a day and that he did not lose shape and served her for several years. Therefore, I did not just draw a beautiful picture, but developed a technology for making a kokoshnik for intensive, and sometimes extreme, use.
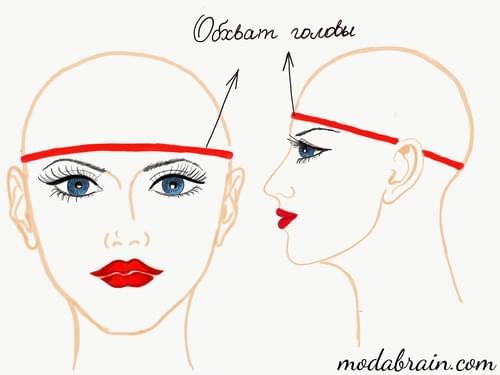
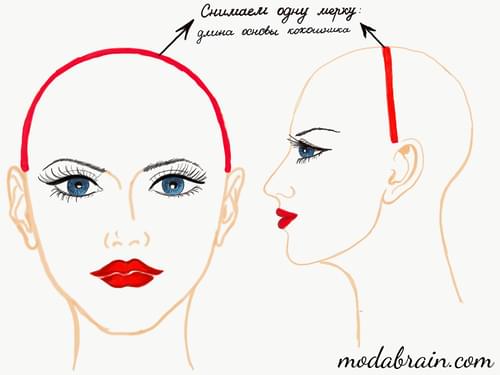
Required measurements
To make a kokoshnik, you need to have some measurements: head circumference and height.
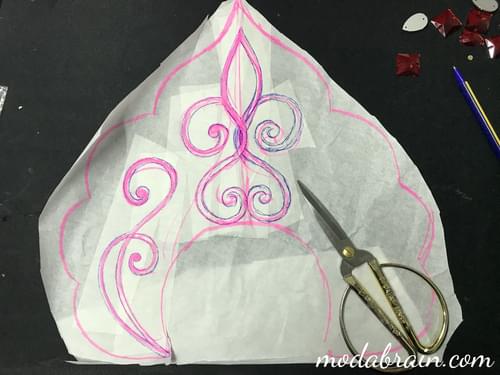
Preparation of the picture
First, I made a kokoshnik pattern on thick paper: the main part and the rim. I refined the shape, corrected the fit on the head.
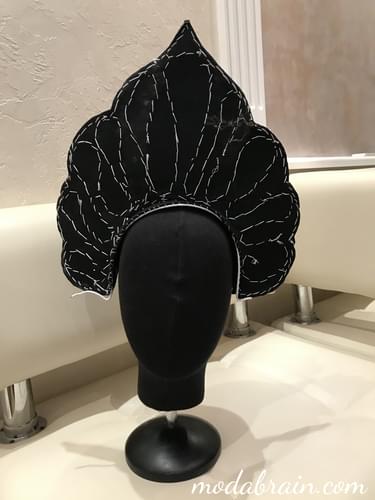
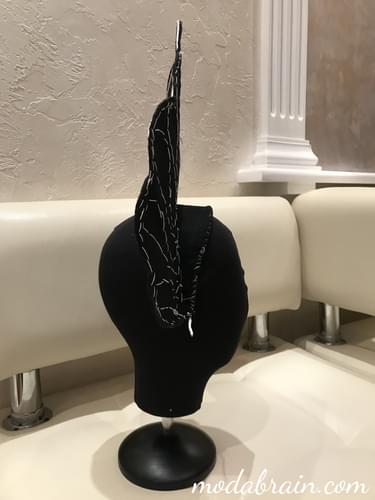
Tailoring
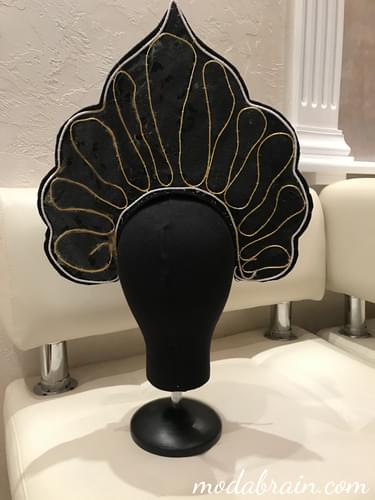
Then I cut out the base of the kokoshnik from felt and the rim on which it will hold. Further, for strength, I circled the kokoshnik with wire and also reinforced the base with the rim of the kokoshnik with winding lines made of wire, which I simply sewed with a strong thread to the felt, while trying not to tighten the felt so as not to wrinkle it.
After that, I glued the base of the kokoshnik on the back side (where the wire is) with Moment glue and left it for 24 hours until completely dry.
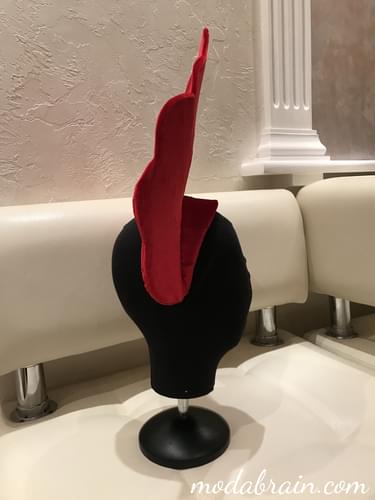
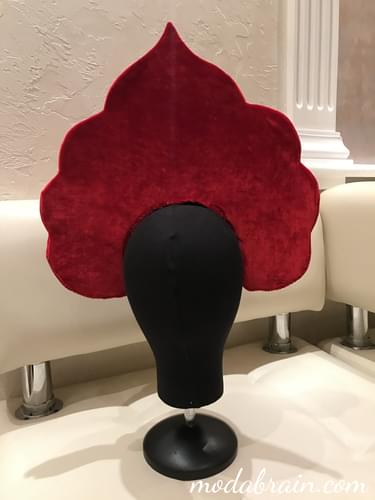
Then she covered the base and the rim with red velvet from the front and from the wrong side. I connected the main part of the kokoshnik with the rim. I sewed a wide elastic band to the ends of the headband so that it was firmly attached to the head.

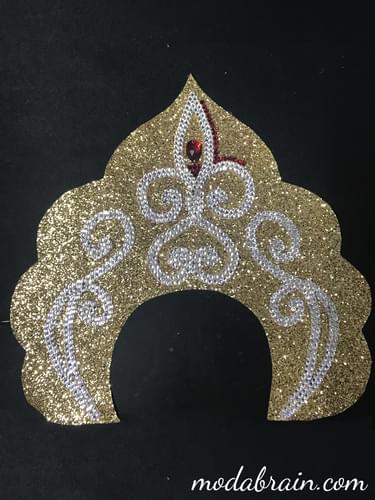
After that, I cut out the base of the kokoshnik from the “golden crumbs”. But do not rush to sew it to the kokoshnik. If you attach it immediately, then it will be impossible to sew on rhinestones, beads and an ornament.
We cut out an ornament of curls from the supplex and stitch it on a golden crumb. I made the base for the stones sticker. It would be possible to stick the stones on the crumb with B-6000 glue, but it is impossible to do this neatly and beautifully, you will never get a clear pattern and the stones will fall off. Therefore, I first drew a pattern on tracing paper by hand, gluing it with construction paper tape on the reverse side for density. Then I cut out a supplex pattern according to this template and stitched it on a crumb.
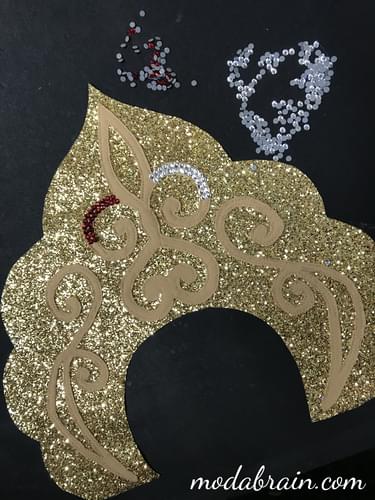
Then I glued the Crystal rhinestones (size 20ss) tightly with a hot-melt applicator along the ornament in 2 rows. After that, I outlined the ornament with red rhinestones (color “siam”, size 20ss).
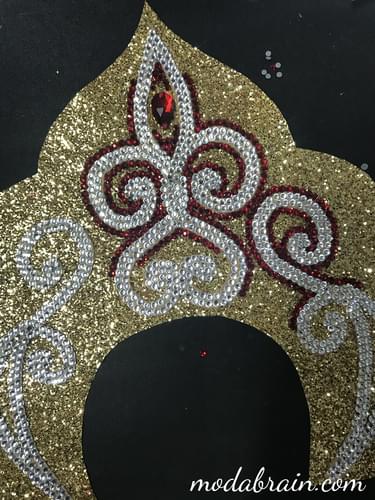
Then I sewed 15 red beads on the “golden crumbs”.
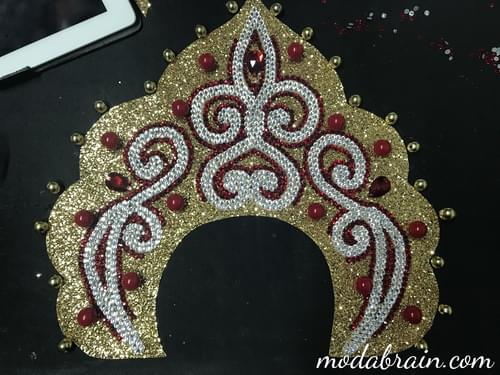
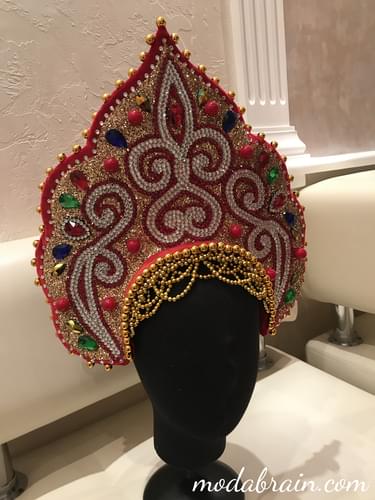
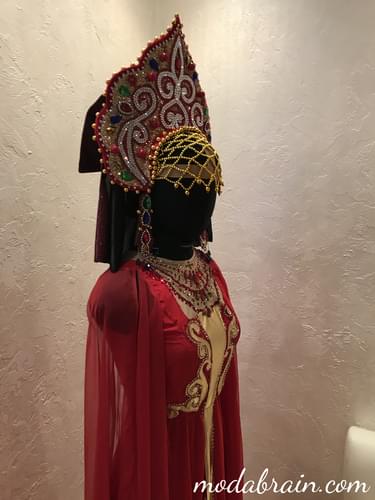
Then I sewed all the large and medium rhinestones onto the base of the “golden crumbs”, and then sewed it onto the velvet base of the kokoshnik with neat small hand stitches reinforced with 2 addition thread. Along the edge of the kokoshnik on a velvet base, I made a stroke of Crystal 20ss rhinestones. And then the edge of the kokoshnik was decorated with gold beads, which must be sewn with a reinforced thread in 4 additions.
On the edge of the rim, we sew large gold beads in a dense row and make a hinge on the frontal part. Due to the fact that I made a kokoshnik specific for an illusion number, I had to further strengthen it with rubber bands on the frontal part. But for ordinary kokoshnikov, this is not necessary.
In the photo you see 2 variants of gold beads hanging on the frontal part. Why 2 options? - you ask. I was just looking for the best solution.
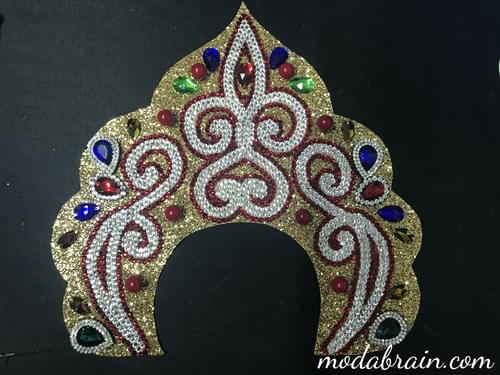
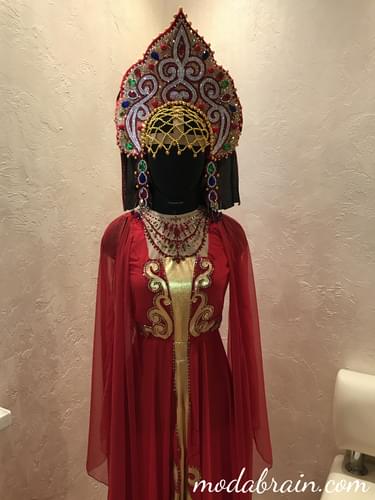
For a complete image, I did not have enough earrings. I also cut out the base from felt, sewed large rhinestones on it, glued it with small rhinestones, sheathed it with beads along the edge, sewed colored drops on chains to the bottom of the earrings. And then I sewed this beauty to the kokoshnik.
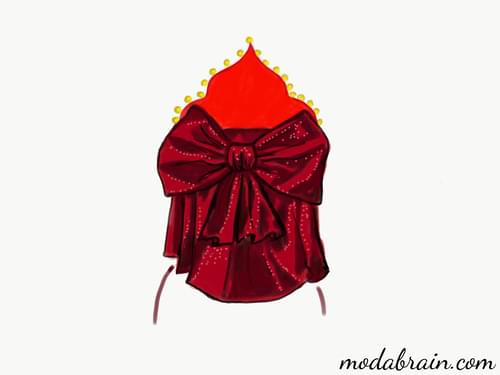
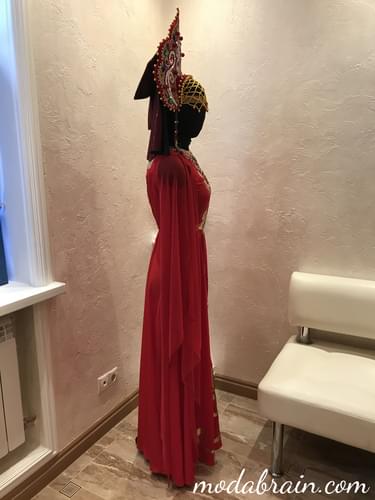
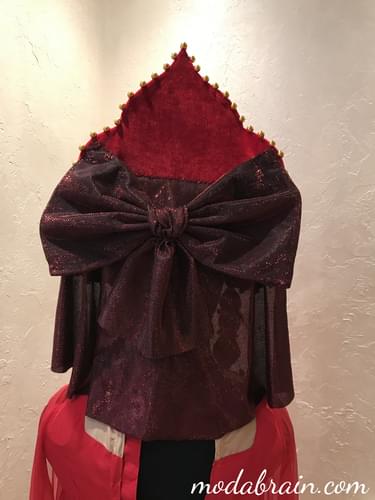
At the end, I made a beautiful dark red bow and a small imitation of a veil on the back. Voila! My luxurious kokoshnik for Vasilisa the Wise is ready!


This kokoshnik is made to order for a professional circus performer, the materials used for it are expensive, because the kokoshnik should look expensive and rich. If you need a budget option, then you can replace expensive materials and rhinestones with cheaper ones, for example: “gold crumbs” can be replaced with brocade, luxury quality glass sew-on rhinestones can be replaced with acrylic ones, and the back bow can be made from organza.
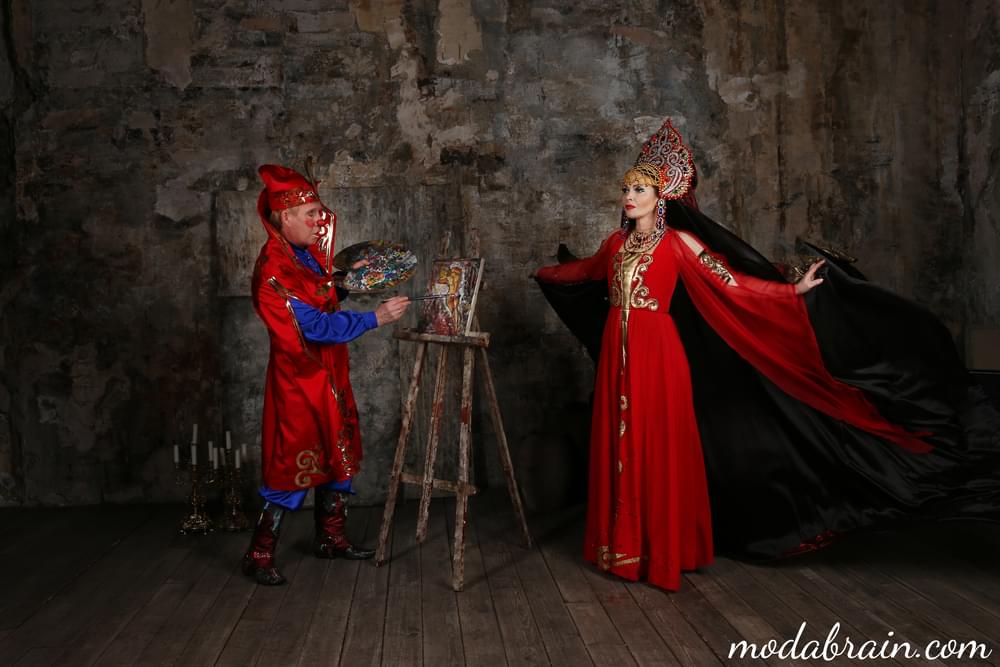
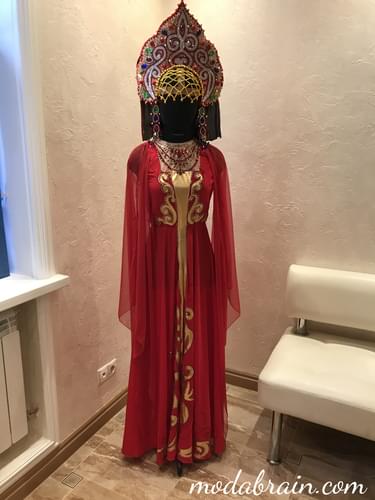
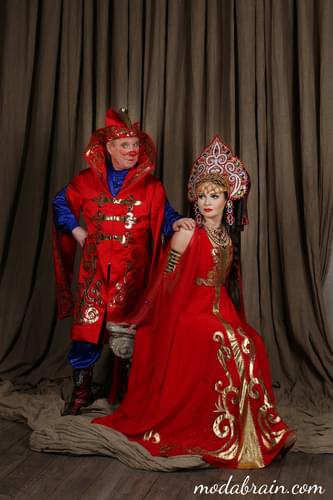
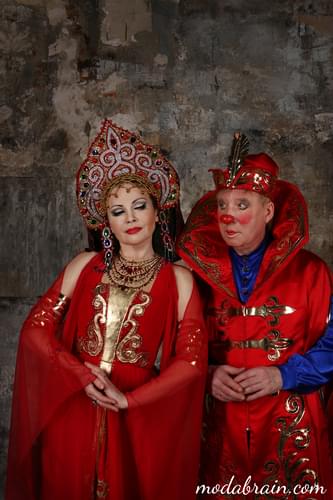
The artist was delighted with her headdress and could not stop looking at herself in the mirror. The kokoshnik turned out just fabulous and incredible. He shimmered with multi-colored stones in the arena and it was impossible to take your eyes off him. In an ensemble with a long red dress, sparkling with all its facets in the spotlight, the image of Vasilisa the Wise was simply magical.
Thank you for reading my article. I hope you liked my master class on making a kokoshnik in Russian folk style and was useful. Next time I will tell you about the costume of Ivan Tsarevich and how to make a headdress in the form of a large voluminous flower. Such a headband with a flower will be a great addition to an evening dress for a party in the style of the Great Gatsby ![]()