Which variant of painting supplex to choose: airbrush or brushes? Which of the two options is better? How to paint through a stencil? And the most important question is how to paint the fabric with an airbrush so that the paint does not subsequently rub off the fabric? You will find answers to all these questions in this article.
Content
- Required materials
- Airbrush or brushes?
- What colors to choose?
- Painting with an airbrush through a stencil
- Painting with brushes through a stencil
- Washing dyed supplex
- Cons of painting supplex
Necessary materials
- Airbrush and compressor. For example - “Jas”
- Tassels
- Supplex white
- Ornament stencil
- Adhesive spray for fabric
- Paint Decola ultramarine
- Paint Decola black
- Paint Decola white
- Dye Setacolor green fluorescent
Airbrush or brush?
Many masters in tailoring swimsuits ask themselves the question: paint with an airbrush or brushes? And which of the two is better? If I need to paint some small detail, then of course I will not take out the compressor, airbrush, airbrush stand, etc., in which case it will be faster to paint with brushes.
But when you need to paint a large part of the swimsuit / jumpsuit, then in this case it will be faster to paint the fabric with an airbrush. And also, if I need to make a lot of small, but identical elements for a costume, then it will also be faster to paint them with an airbrush.
If you make a gradient (smooth transition from one color to another), then it is also better to do it with an airbrush, so the transition will turn out more beautiful than painting with brushes. And in this article I will show you how painting a supplex looks like with an airbrush and brushes.
When painting fabric with an airbrush, paint is consumed less, and when painting with brushes - more. The fact is that the airbrush sprays paint evenly over the fabric in a reasonable amount, and with brushes we apply paint unevenly: somewhere less paint is obtained, and somewhere trying to make the color more saturated, we apply a huge amount of paint. But a large amount of dye greatly reduces the extensibility of the fabric.
The fact that we apply more paint with brushes than with an airbrush can be understood from the wrong side of the dyed fabric, from the inside the paint on the fabric is almost as saturated in color as from the front. And this is what greatly reduces the extensibility of the fabric.
Many are mistaken and believe that due to the fact that when painting with an airbrush, the paint penetrates less on the wrong side, which is why the paint is washed off from the fabric dyed with an airbrush, but not dyed with brushes. But it’s not! The paint applied by the airbrush is not washed off because of this.
There are several reasons why paint is washed off. In order to create a beautiful stretch of flowers on the supplex, the craftsmen moisten the fabric before painting it, and the mistake of many is that they do the same when painting with an airbrush. And this is one of the main reasons why the paint is then washed off the fabric.
When painting fabric with an airbrush, you do not need to moisten the fabric. A beautiful transition from one color to another, thanks to the airbrush, will turn out without wetting the fabric. This is most often the main reason for poor color fastness on supplex.
What paints to choose for dyeing fabric?
Most often, everyone uses Decola textile paints, but not all paints from this company are suitable for airbrushing. The airbrush requires liquid paints, while Decola has liquid paints only for batik, but there are no fluorescent bright colors in this line, at least I have not seen any.
Thick paints can also be used, but they must first be diluted with water. This is quite a long time to do if done correctly. After adding water to the paints, they need to be cleaned of grains by passing through a nylon sock, if this is not done, then the airbrush nozzle will quickly deteriorate. Therefore, it is better and easier to immediately take liquid paints that are suitable for an airbrush.
To paint the sleeves, I used three colors of textile paints: ultramarine, white and black “Decola” and fluorescent green Setacolor. The paints I chose were too thick for an airbrush, so before painting, I diluted the green and black paint with water to the consistency I needed.
Airbrush painting through a stencil
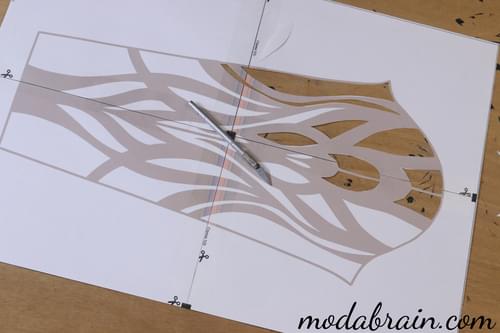
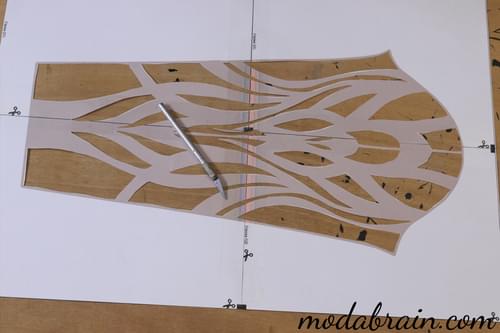
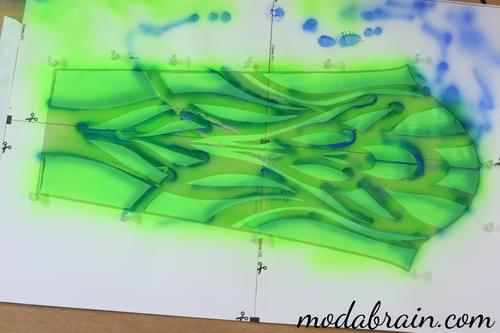
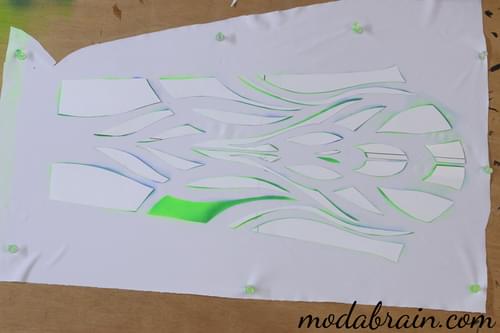
Before painting the sleeve, I prepared a stencil with an ornament in advance. I don’t throw out the cut out parts, I will need them later, so I carefully put each cut out part to the side. My stencil is made of ordinary printer paper - A4 sheets glued together with adhesive tape.
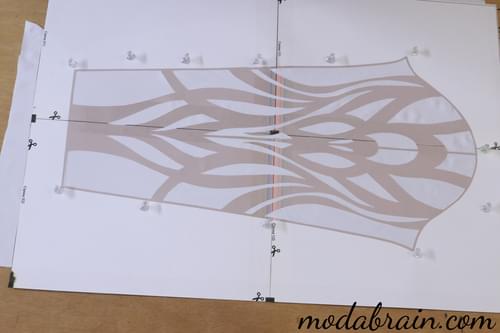
I pinned the white supplex to the easel tablet with buttons, then glued the stencil on top. If the stencil is not glued, but simply pinned with buttons, then the contours of the painted elements will be uneven.
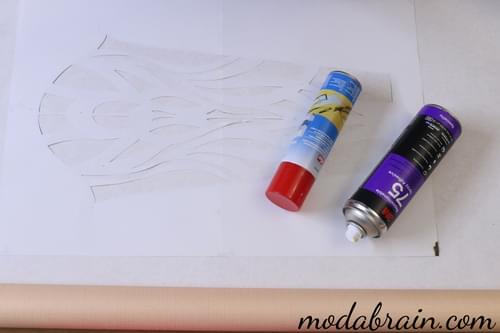
I glue the stencil to the fabric with textile adhesive spray. You can read an article about textile adhesives in cans here. Glue should be applied not to the fabric, but to the stencil itself from the wrong side and do not overdo it with glue so as not to spoil the fabric. After I applied the glue to the stencil, I glue it to the fabric. Additionally, I fix the stencil on the fabric with buttons so that it does not move.
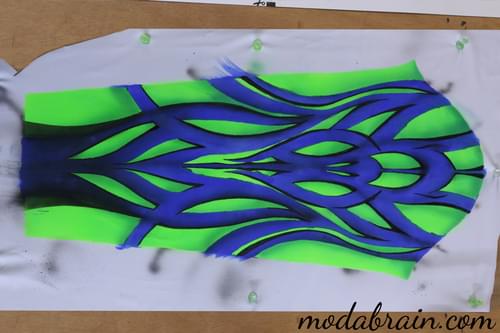
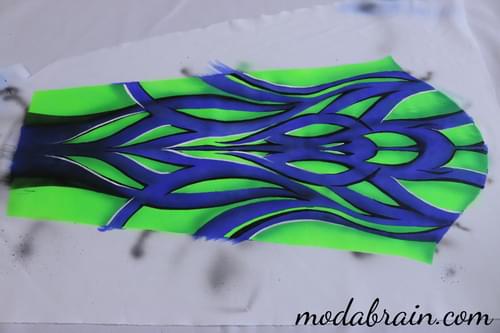
I started painting with green paint, which I applied with an airbrush. I painted over one layer of green paint, then applied a second layer an hour later.
Then again I waited a bit for the paint to dry and applied the shadows with ultramarine paint, also using an airbrush. On green paint, shadows look more beautiful if they are made with blue or ultramarine paint, rather than black.
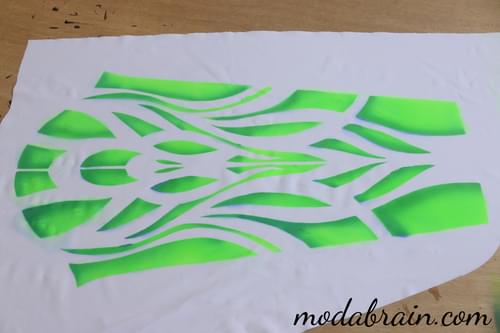
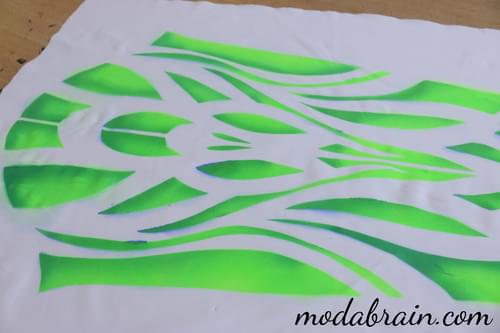
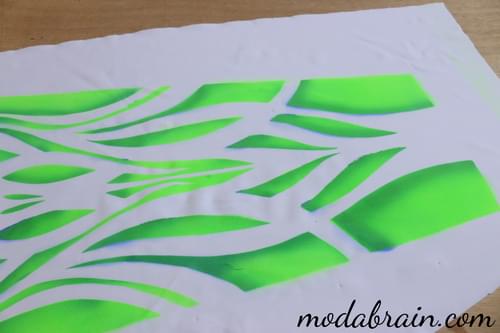
Once the paint was dry, I peeled off the stencil from the fabric. And here’s the beauty I got.
As you can see, the lines through the stencil, painted with an airbrush, turned out to be very even and neat.
Painting with brushes through a stencil
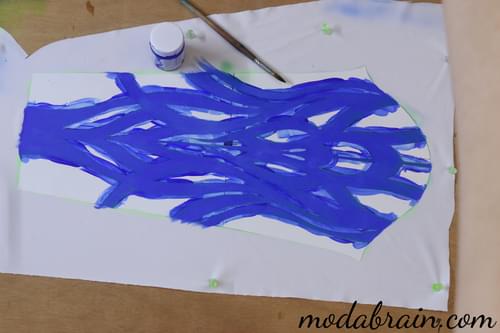
Now I will show you how to paint with brushes through a stencil. And here I need the details cut out earlier from the stencil. I also apply glue to these parts from the wrong side and glue the previously dyed parts of the fabric with them. I remind you that the glue must be applied in a small amount so as not to spoil the fabric.
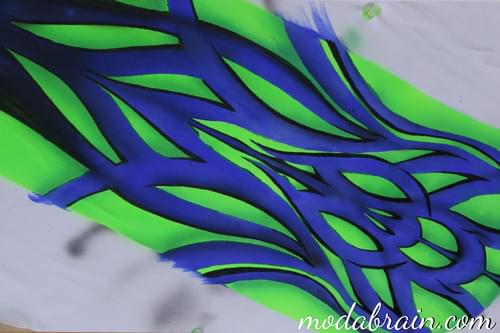
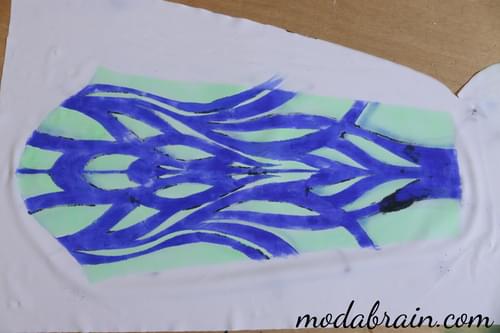
And then I paint over the main ornament with brushes with ultramarine paint.
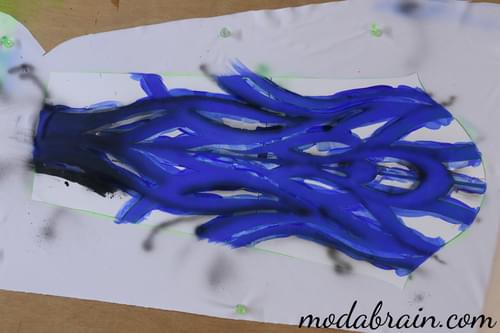
Once the paint was dry, I applied the shadows with black paint using an airbrush. In the process, I had a small accident 🙈 I spilled black paint on the sleeve, so I had to change the ornament a little. It’s good that I only made this sleeve as a sample for this article, and not for a swimsuit 😅
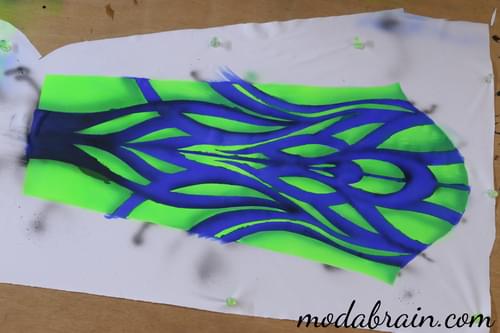
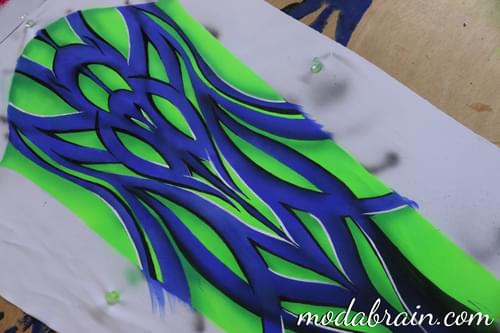
When the paint dried, I peeled off all the paper details from the fabric.
As you can see, after painting the fabric with brushes, the edges turned out to be very uneven. So I had to line up the lines with black paint, creating shadows. If I also applied the ultramarine paint with an airbrush, then I would not have to spend a lot of time and align the lines later.
For brightness, I added white lines.
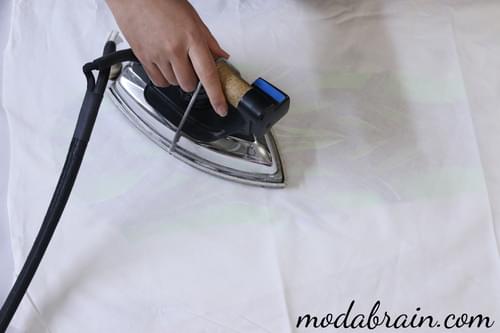
24 hours after painting, I fixed the paint with an iron.
My sleeve is ready.
Washing dyed supplex
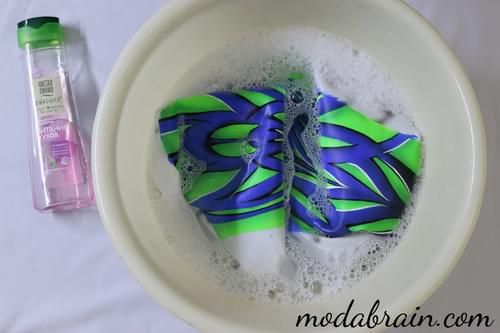
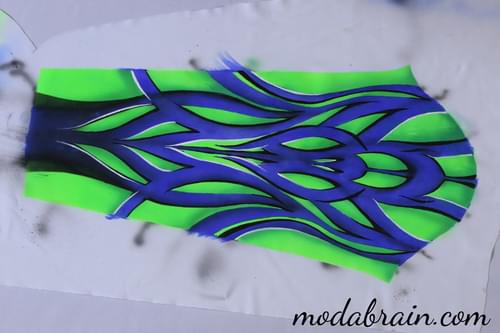
I even decided to wash the dyed fabric and show that it has not changed at all after washing. The paint has not rubbed off or faded.
Hand dyed fabric cannot be machine washed, hand wash only. It should not even be washed, but slightly rinsed. I wash the dyed fabric in warm water with shampoo.
And this is what it looks like after washing. All colors are as vibrant as they were before washing.
Cons of painting supplex
Hand-dyed supplex, regardless of whether you paint it with brushes or an airbrush, the fabric always becomes denser and less elastic and this is the main disadvantage. And the second minus - the fabric after manual dyeing is always very wrinkled.
The sleeve in places where I painted with an airbrush is softer than where I painted with brushes. From the wrong side of the sleeve, you can see that there is more ultramarine paint, which I applied with brushes, than green paint. All this strongly densifies the fabric, reduces its extensibility and therefore it becomes less pleasant in contact with the skin.
Thank you for reading my article. I hope my article will help you when choosing a method for painting your suit and everything will turn out just fine.
