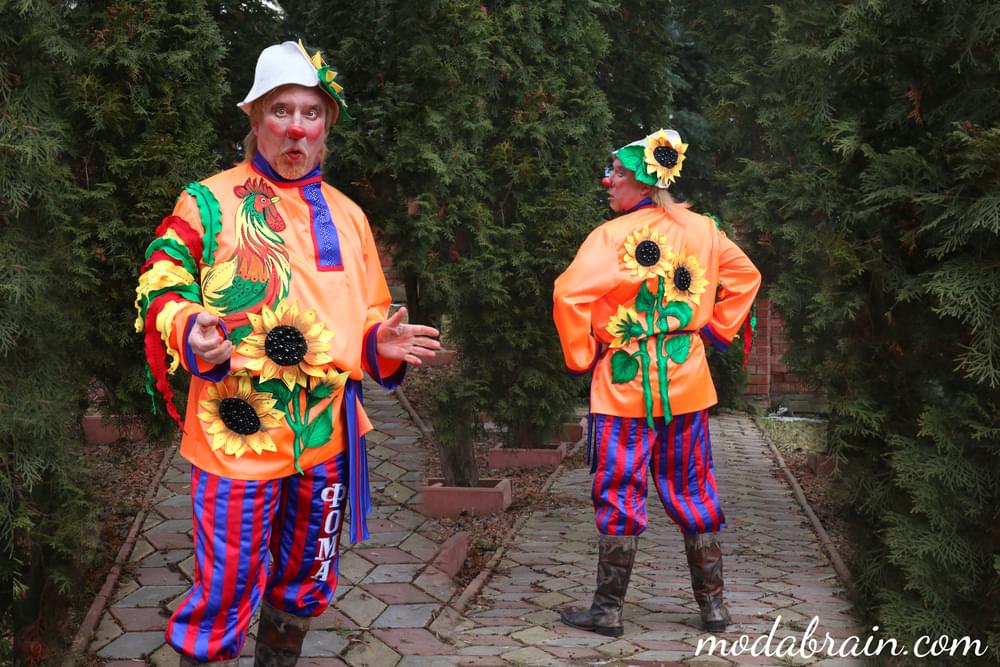
In this article I will tell and show you how I sewed a Russian-style clown costume step by step. I created this costume for the honored circus artist Igor Vorobyov. He works as a Russian-style clown. When in a circus someone sews a costume in the Russian style, and no matter what genre the artist works in, then for some reason everyone uses Pavloposad shawls in the decor of the costume like a blueprint. It’s already so boring and uninteresting, especially since the artist’s previous costume was decorated with shawls, so I categorically did not want to use them in this costume. Despite the fact that I really like shawls, but it was in this costume that I wanted to do something new and non-standard for a circus costume, and how I did it - read this article 🙂.
Content
- Required materials
- Sketch
- Building and cutting
- Sewing a shirt
- Shirt decor
- Assembling the shirt
- Belt for shirt
- Decorating the costume with rhinestones and beads
- Headdress
Necessary materials
- Satin orange
- Satin red
- Satin blue
- Supplex red
- Supplex yellow
- Supplex green
- Supplex black
- Baptiste white
- Glue web
- Elastic band black width 8 cm
- Black beads in two sizes
- Hot fix rhinestones “Light Siam” 20 ss
- Hot fix rhinestones “Cristal” 20 ss
- Hot fix rhinestones “Emerald” 20 ss
- Hotfix Rhinestones “Sapphire” 20 ss
- Hot fix rhinestones “Jet black” 20 ss
- Paints for fabric “DECOLA”
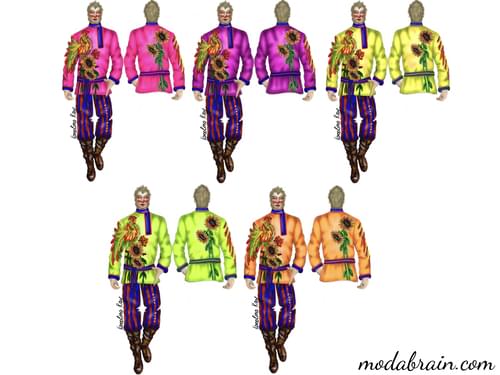
Sketch
I sketched on my iPad Pro 2018 using Procreate. I sketched in multiple colors as we weren’t sure what color we wanted the costume to end up with.
I really didn’t want to make an orange suit because the artist has already worked in an orange suit and I also try to avoid this color in tailoring, because I don’t like it at all 🙈. I wanted to make the suit pink or lemon. But we did not find such a pink material as I needed (bright, moderately dense, so that there are no clues on it and at the same time, so that the artist feels comfortable in it and, most importantly, without cheap gloss) we did not find. Unfortunately, all the pink materials that I came across did not fit, and the artist himself did not want the lemon color, despite the fact that the material was very bright and beautiful, due to the fact that his partner works in a lemon suit. So we settled on orange.
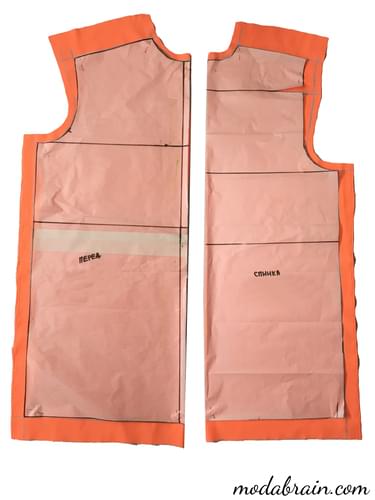
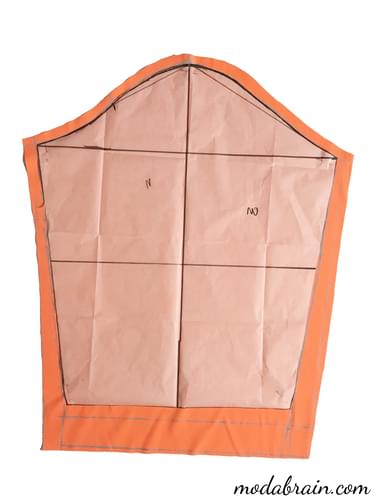
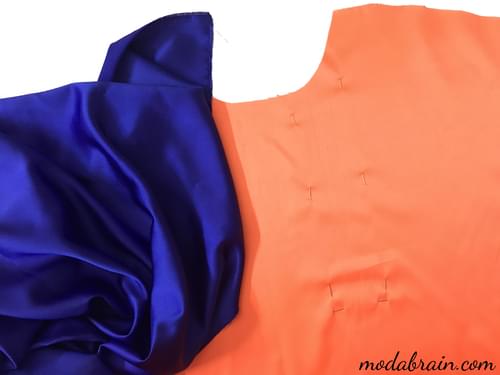
Building and cutting
I built a shirt according to the “English” method. Then I cut the shirt. Along the shoulder line, I left large sections as I had already sewed costumes for this artist before and understood that I would most likely need to move the shoulder line a little further than it turned out according to the design.
Sewing a shirt
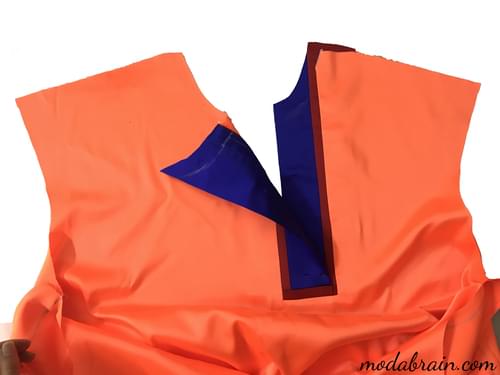
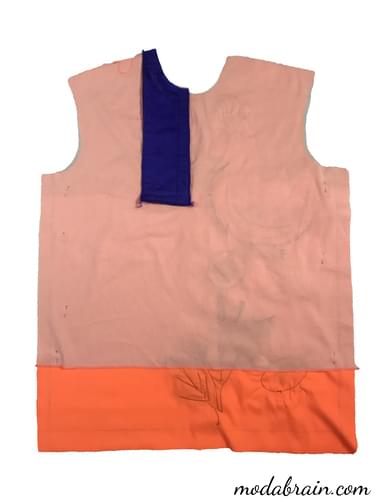
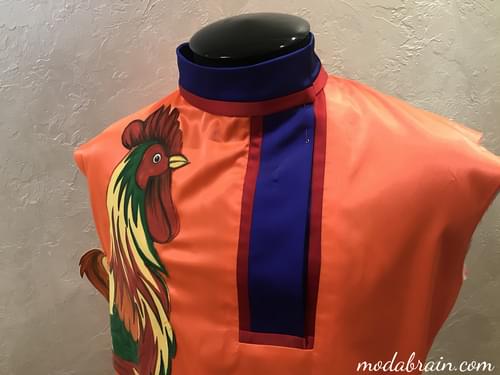
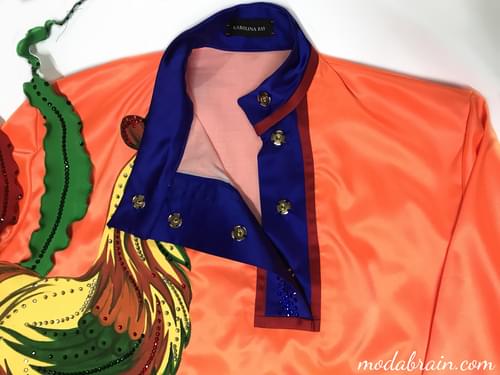
Before assembling the details, I worked the neckline of the shirt with a blue satin fabric with red piping. Processed according to the principle of a welt pocket in a frame. I don’t have an article on how to make a welt pocket in a frame on my blog yet, but it will be soon.
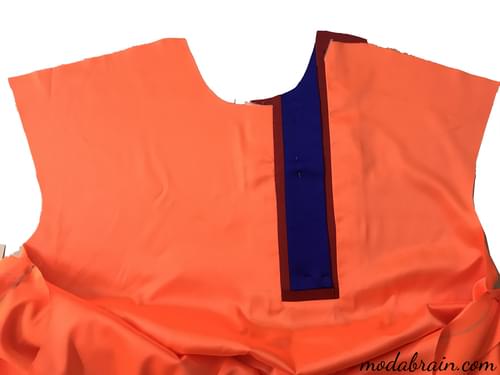
I also immediately prepared a stand collar from the same blue fabric with a red piping.
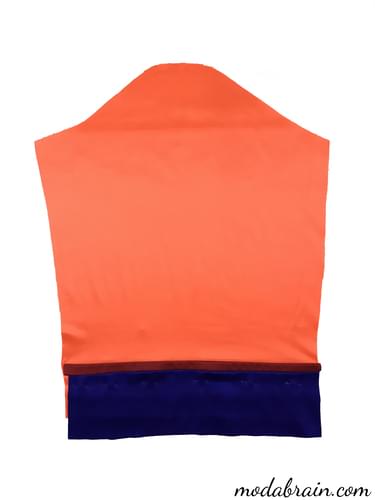
Before proceeding with the decor, I gathered and swept away the entire shirt to see exactly what I was getting.
Shirt Decor
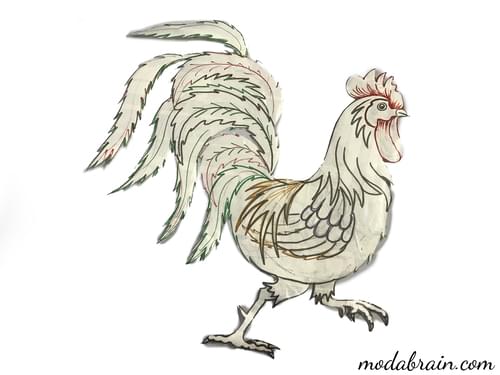
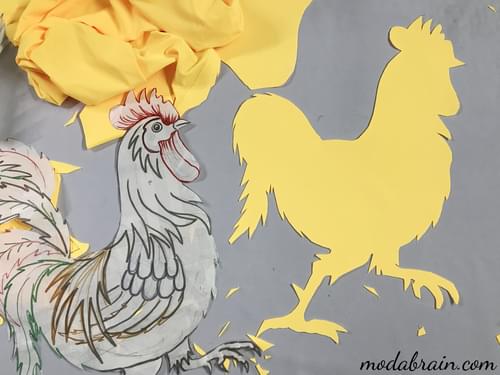
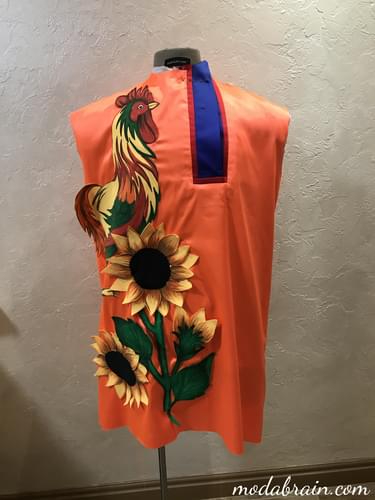
I wanted to make the decor on the shirt as voluminous as possible, but at the same time it should not be heavy so as not to interfere with the artist’s work. First, I drew a rooster on tracing paper, which I will then draw on supplex. Since the supplex itself twists when you cut it out, I needed to seal it, so I glued two layers of supplex together with glue gossamer.
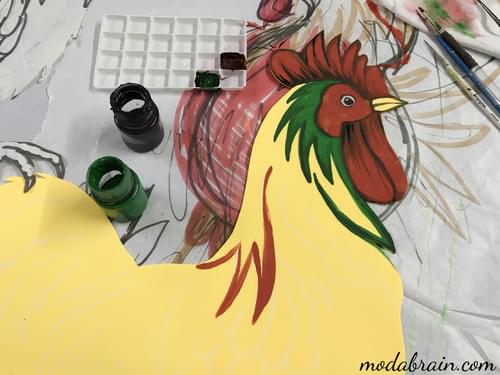
Then I painted a rooster with acrylic paints for “DECOLA” fabric.
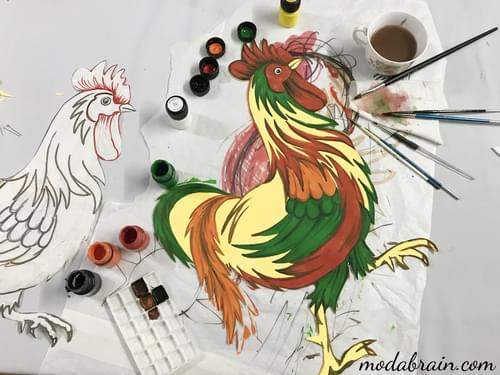
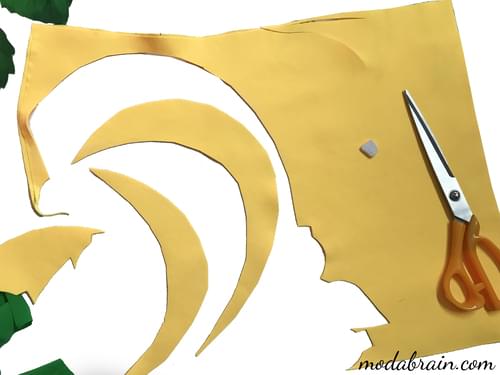
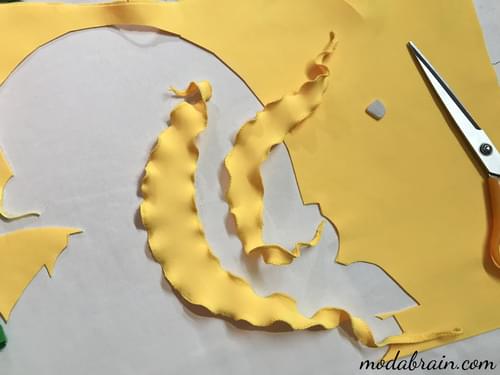
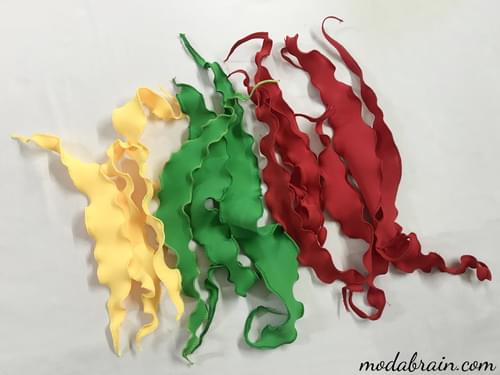
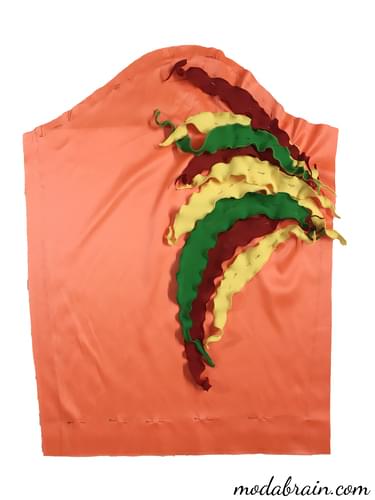
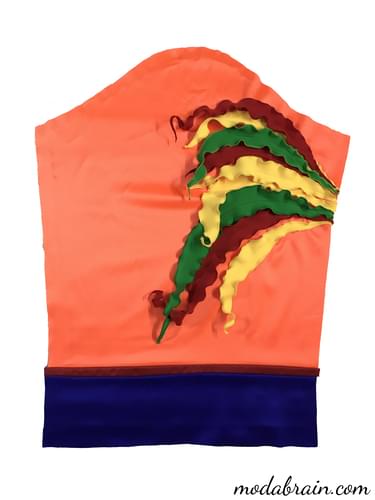
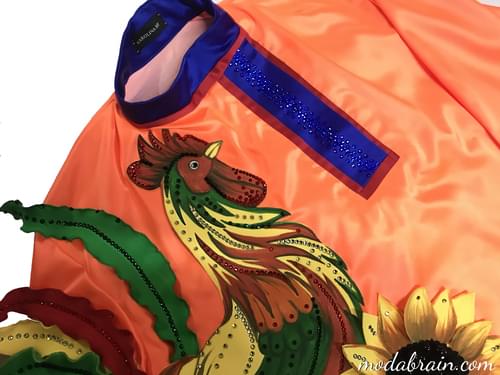
This cock is not finished for me, he still needs to make a luxurious voluminous tail 😉. My tail will be of three colors: red, yellow and green. To do this, I glued together two layers of supplex of each color. Then I cut out the feathers themselves of different sizes with an arc.
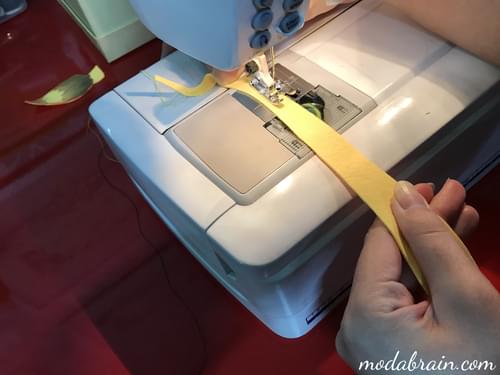
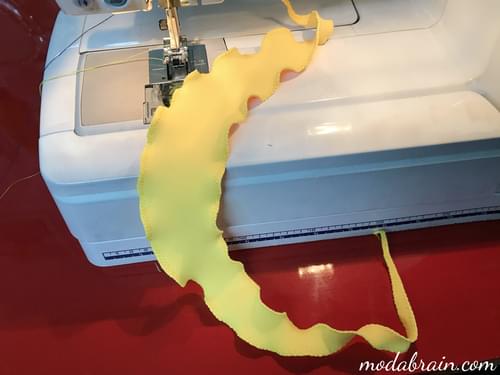
In order for my feathers not to be flat, I processed the edges of the feathers with a zigzag seam. To make the seam wavy, you need to stretch the fabric when processing the edge on the sewing machine. Pull the two edges of the fabric in opposite directions as far as possible and you will get such a beautiful wavy edge.
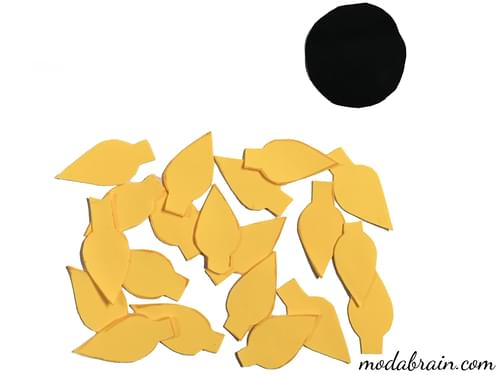
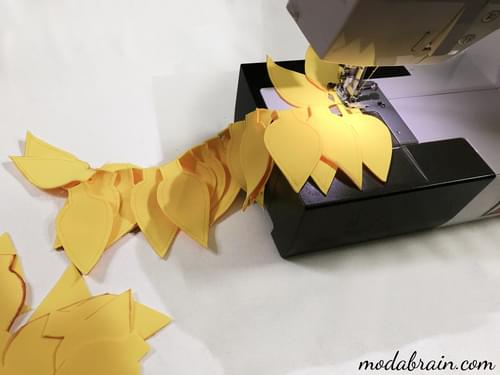
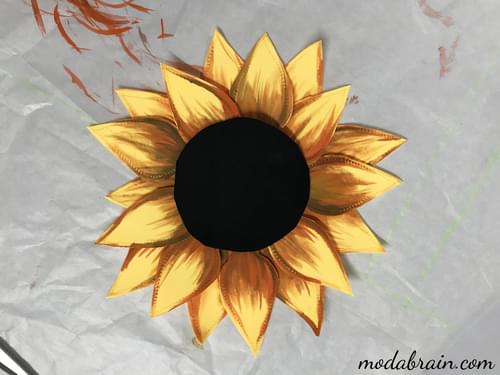
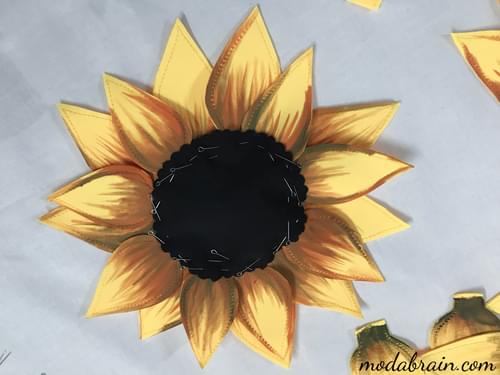
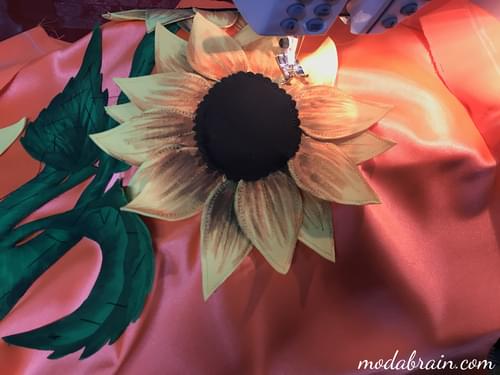
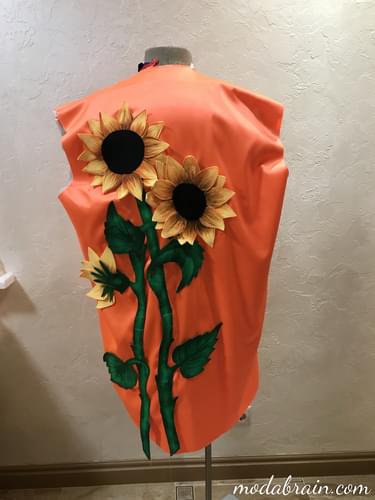
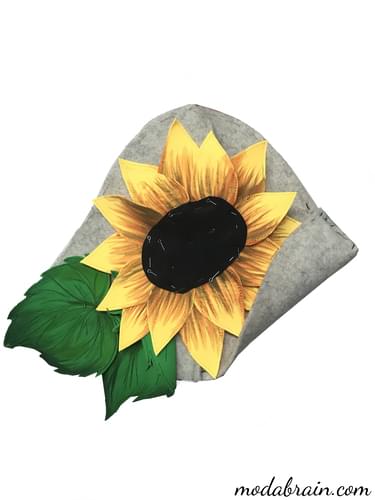
After that I had to make big sunflowers. To do this, I also glued two layers of yellow supplex together and cut out the petals. I secured the ends of the petals with a straight seam so that they would not stick out over time. I made the center of the sunflower from black thermobiflex (see how to make thermobiflex here.
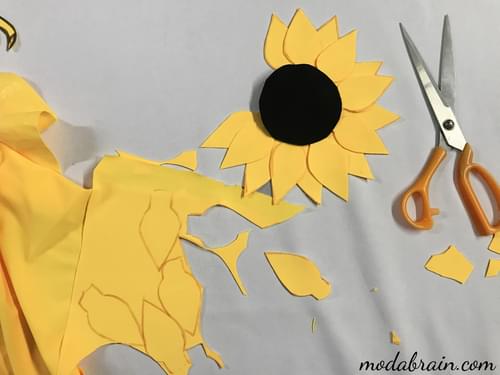
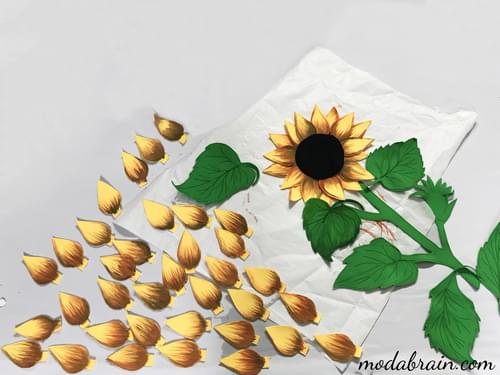
To make the sunflowers more voluminous, I painted them with DECOLA acrylic paints. In the same way, I made the sunflower stem and leaves. I decided to paint them deliberately carelessly, almost with a dry brush. In my opinion they look so much more alive.
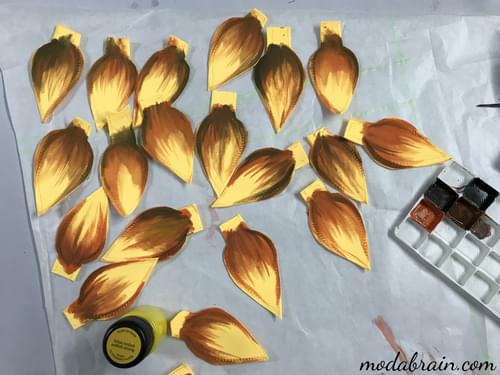
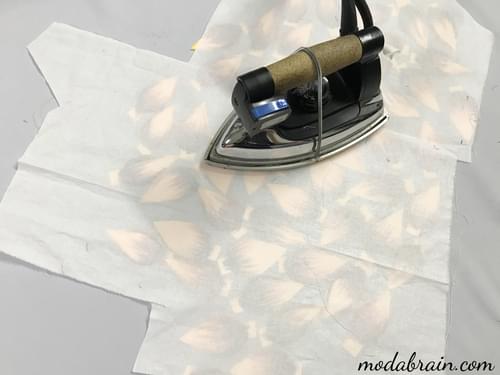
After 24 hours, I fixed the paint on the supplex with an iron. You need to iron through cotton fabric for 10 minutes without steam.
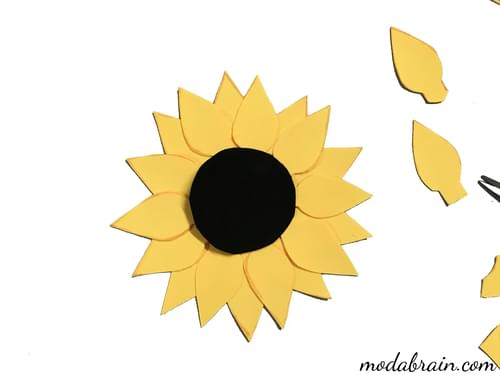
Chipped sunflower petals together.
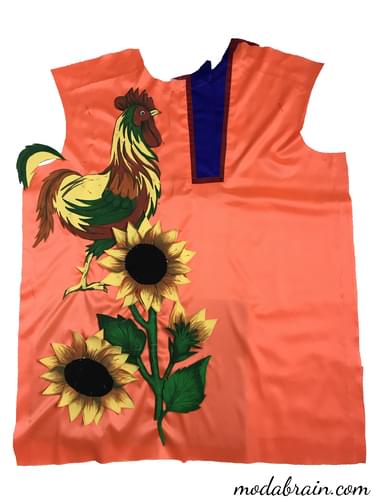
In order to make it convenient to decorate the shirt, I took it apart. And already on a flat surface I laid out all the decor on the details of the shirt.
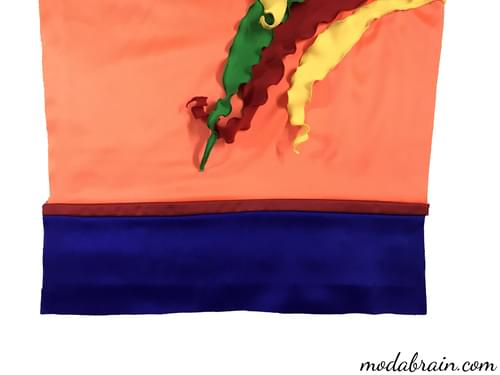
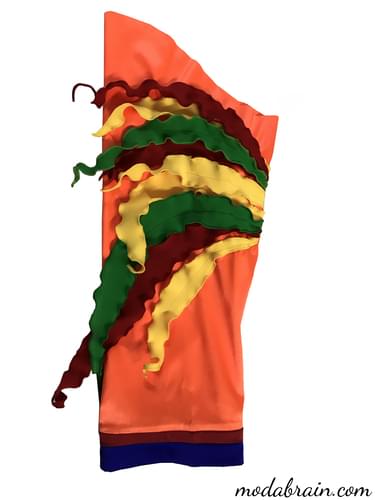
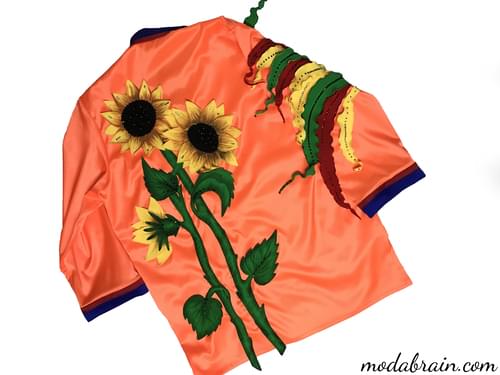
I cut off part of the tail of the rooster, as it interfered with my arm. Then the whole decor was stitched on the front, back and sleeve. I sewed the sunflower petals and the tail on the sleeve not along the edge, but only with a line in the middle, so that the petals and feathers looked voluminous and alive.
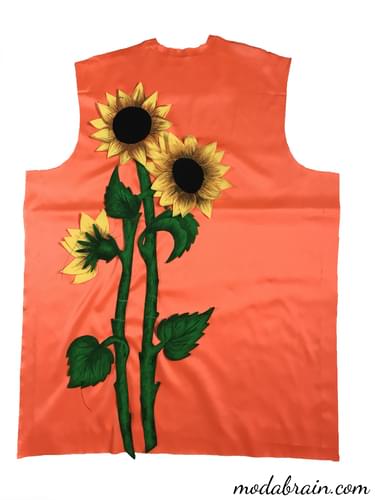
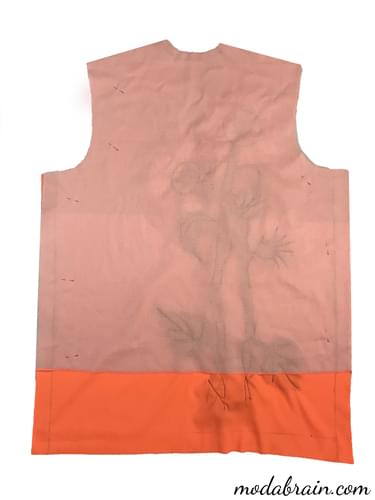
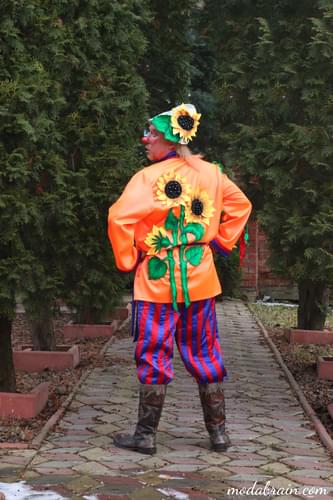
By the way, during the fitting process, we slightly changed the details of the decor. For example, in the sketch we have decor on the back on the left side. We changed that and made a decor on the right side to balance the shirt a bit. In the process, we realized that by making the decor on the back and the shelf on one side, we thereby greatly weight one side of the shirt, while the other side remains without decor on the shelf and back. Therefore, we made a decor on the back from the opposite side.
Assembling the shirt
At the request of the customer, I made a shirt lined with thin cotton fabric.
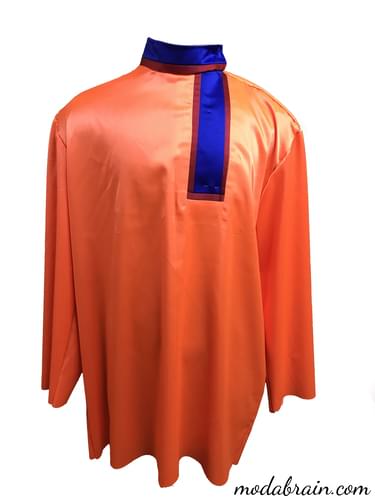
Then I stitched the side and shoulder seams and stitched a stand-up collar.
I made the bottom of the sleeve like a collar made of blue satin fabric with red piping. From a distance, it will look like cuffs. After connecting the sections of the sleeves, then processed the bottom of the sleeve.
She swept, and then sewed the sleeves into the armhole. Finished the bottom of the shirt.
Belt for shirt
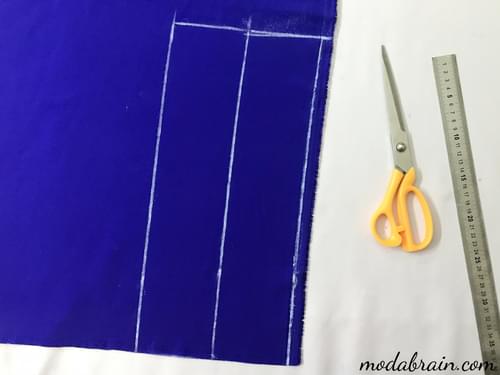
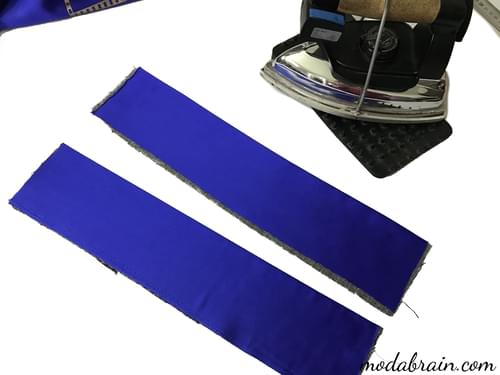
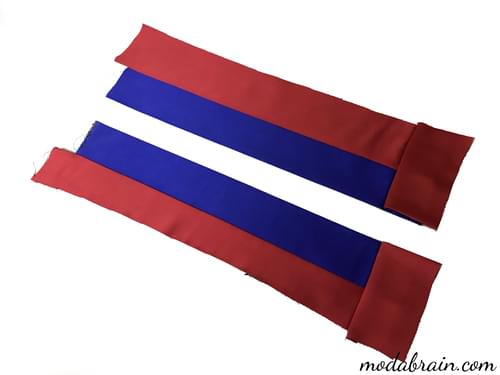
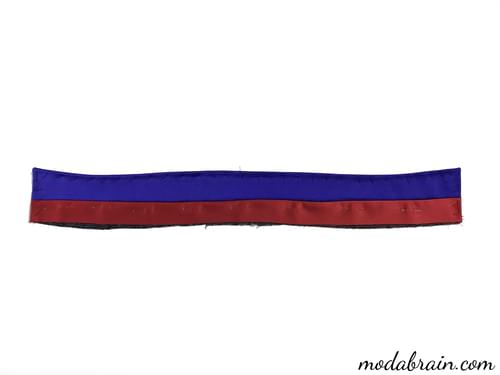
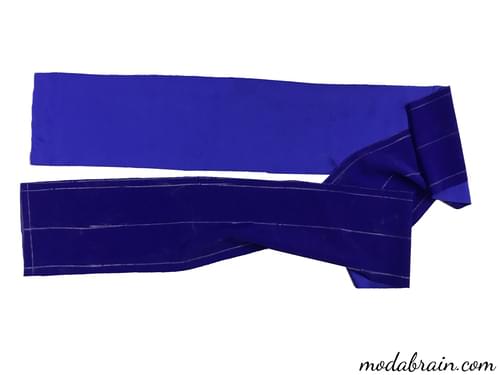
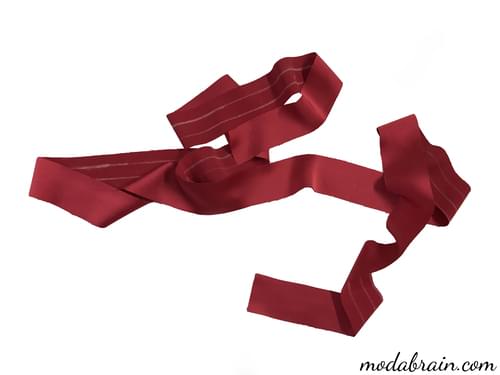
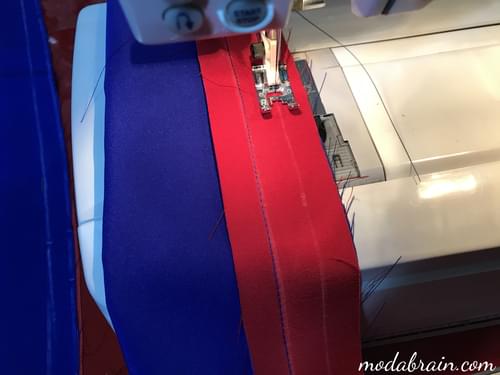
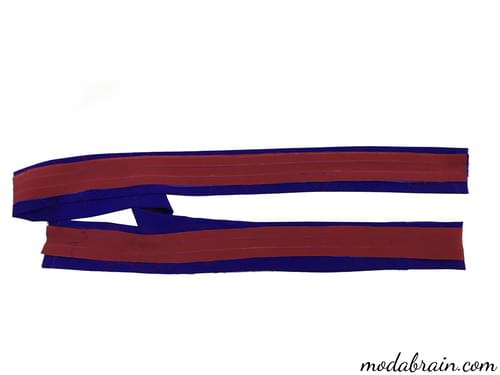
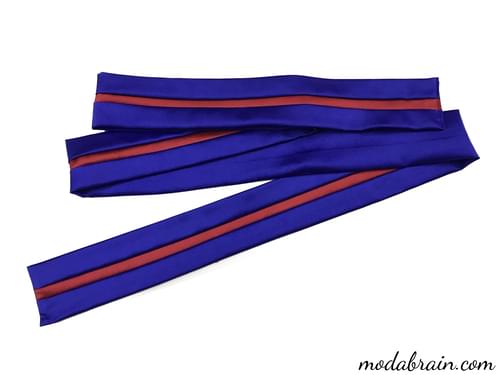
I made the belt from satin blue fabric, like the collar and cuffs with red trim. I cut out a belt 10 cm wide, plus one cm for allowances and a red fabric for finishing 1.5 cm, plus one cm for allowances. We connected the sections of red fabric and blue on a sewing machine, and then turned it on the front side and processed the ends of the belt.
Costume decoration with rhinestones and beads
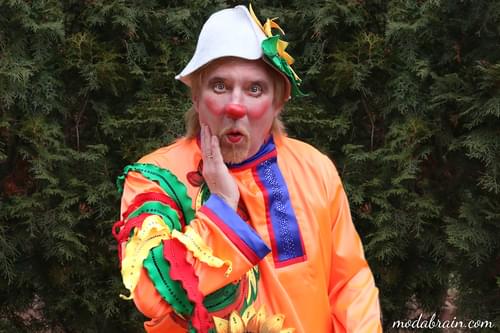
I sewed black beads of two sizes into the center of the sunflowers. She also adorned the sunflowers, the rooster and the lapel of the shirt with 20 ss hot fix rhinestones.

Headdress
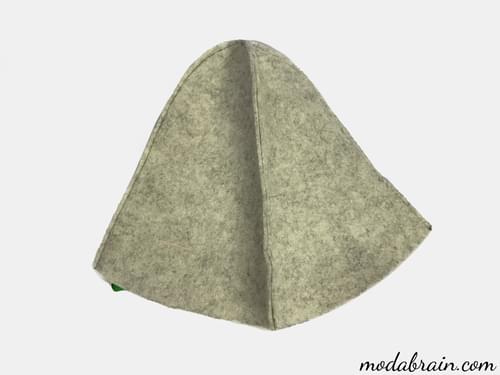
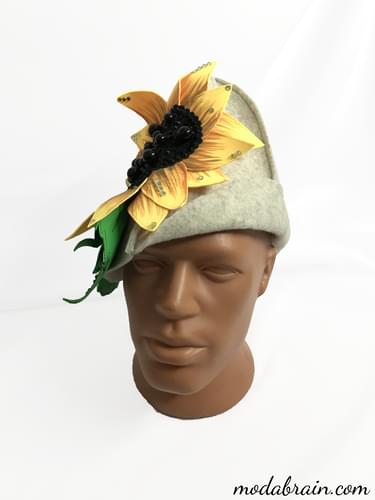
For the headdress, I cut out four wedges of felt 0.5 cm thick. Then I connected them together. I decided to leave the cuts on the front side.
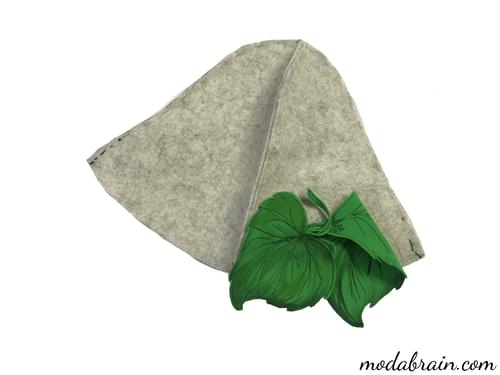
Then I sewed a sunflower prepared in advance with leaves to it.
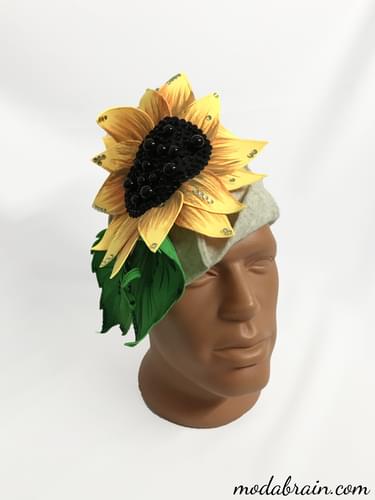
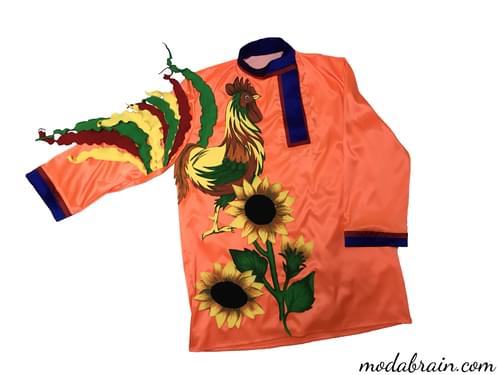
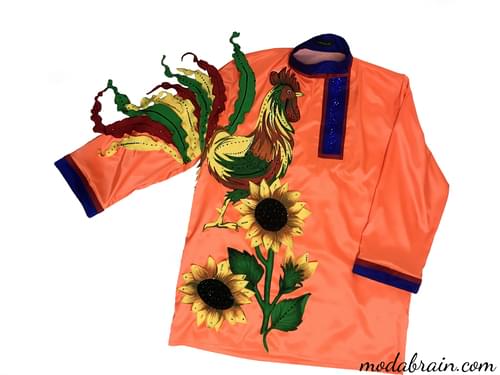
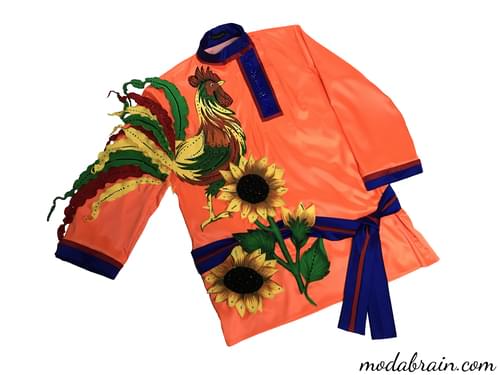
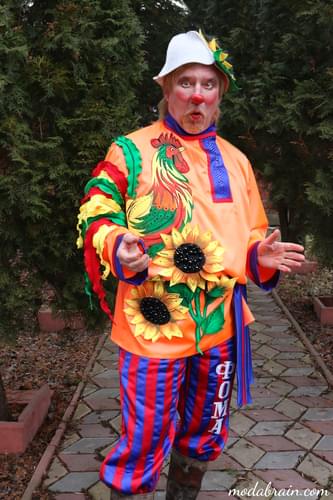
Here is our costume and ready. How I sewed trousers for this costume - read HERE.
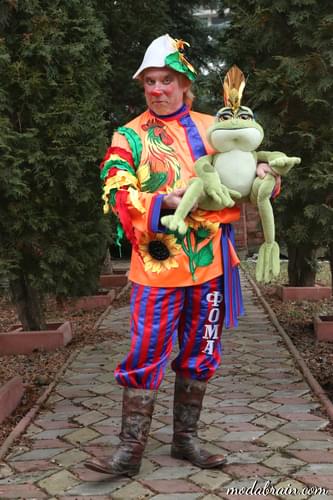
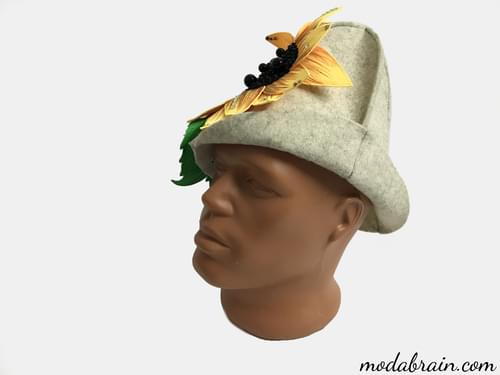
As you can see, the location of the applications on the finished costume differs from how they are located on the sketch, we generally refused from the mountain ash and wattle, on which the rooster sits. I always try to strictly adhere to the sketch, but it doesn’t always work out that way for many reasons. For the fitting with the artist, I took the appliqués as they are located on the sketch, but when the artist tied the belt on the shirt as it is convenient for him, with a slouch, then, accordingly, I was forced to change the location of the appliqués so that they looked advantageous and did not interfere.
Thank you for reading my article. I hope that it was not only interesting for you, but also helped you in tailoring your costume. Feel free to ask your questions in the comments below if you have any after reading the article 🙂.