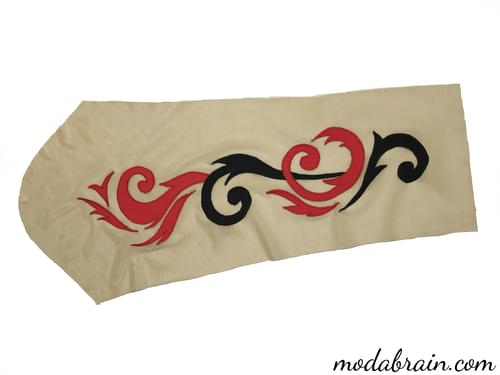
In this article I will tell and show you how to easily and quickly make thermal applications according to my method (method [Sophie Laurent], which I have been using for more than 10 years. This technique is very convenient to use when sewing gymnastic leotards and not only. I use decals in almost all of my costumes and headwear.
Many masters use glue spray, but in my opinion, this is a very inconvenient way to fix applications, especially in cases where the application is large, for example, 110 cm long. I can’t even imagine how much time and effort it will take to glue the application from supplex on a mesh of this length using an adhesive spray. Better not even try it ![]() And with the help of thermal fabric you can easily make an appliqué of any size and from any fabric.
And with the help of thermal fabric you can easily make an appliqué of any size and from any fabric.
Content
- Required materials
- Sketch and patterns of applications
- Creation of thermal fabric
- Fixing applications and stitching
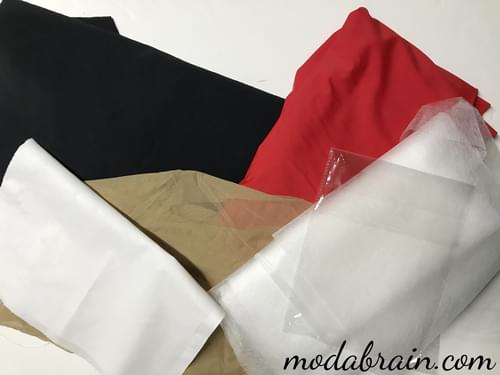
Necessary materials
- Supplex red
- Supplex black
- Body mesh
- Glue web
- PP bag
- Iron
- Ironing iron (I use coarse calico)
Sketch and patterns of applications
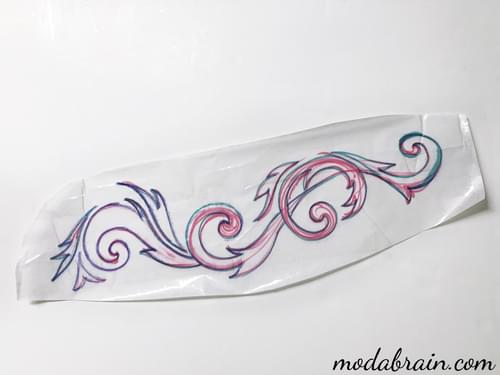
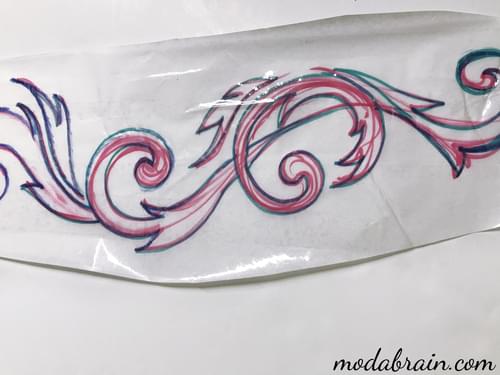
Before proceeding to gluing the fabric, I need to sketch the pattern at a scale of 1: 1 on tracing paper in order to know how much thermal fabric I need.
Then, from the sketch, I make appliqué patterns, glue the tracing paper on the reverse side with masking tape for convenience. If the pattern that you have in mind consists of many small details, then be sure to glue the tracing paper, otherwise the tracing paper will tear. In addition, if the tracing paper is glued with adhesive tape, then these patterns can be used repeatedly.
Create Thermal Cloth
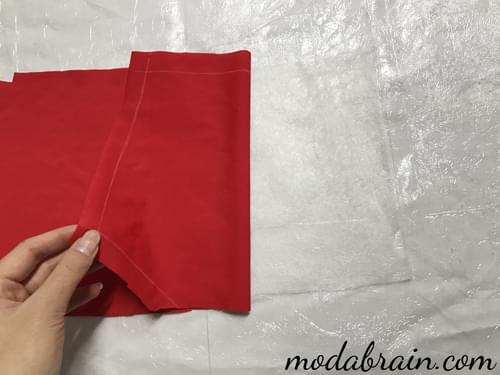
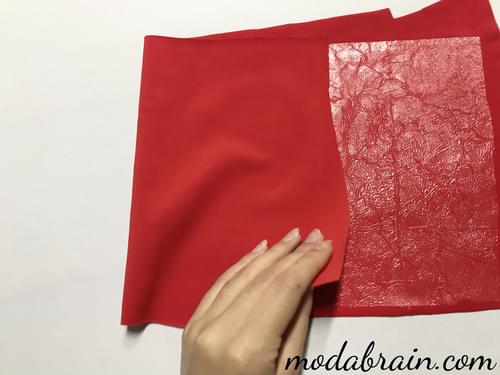
To create a thermal fabric, we need a polypropylene bag, which you can find in any store. Not all polypropylene bags are suitable for this, some melt through an iron. Those in which men’s shirts are packed are ideal. We cut it so that we just have a polypropylene film, not a bag. I advise you to first test the polypropylene film for resistance to high temperatures. To do this, simply iron it through the iron. If it does not melt, then it is suitable for creating thermal fabric.
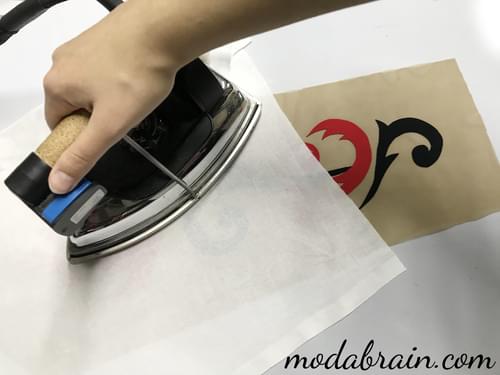
I’m starting the gluing process. I put the film on the table, and then I put the glue cobweb on it, and already on top I put the supplex with the wrong side down. I cover it all on top with an iron and iron everything with a steam generator. Be sure to iron with steam, without steam, the glue gossamer does not melt well.
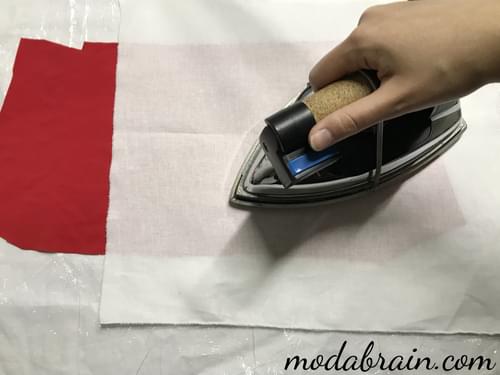
> Important! Just do not change the order of all materials, if you first put the supplex, then the glue cobweb, and the polypropylene film on top, then you will not succeed. The steam from the steam generator will not pass through the film, so the adhesive web will not melt.
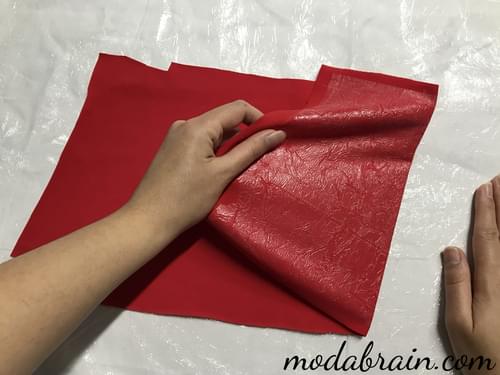
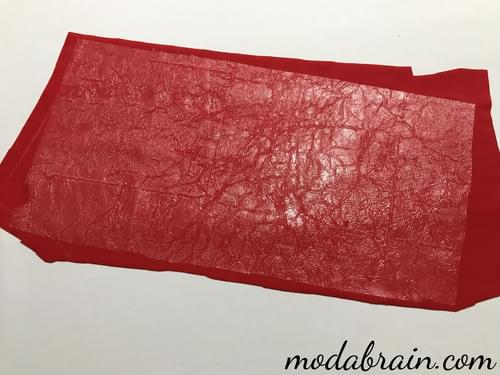
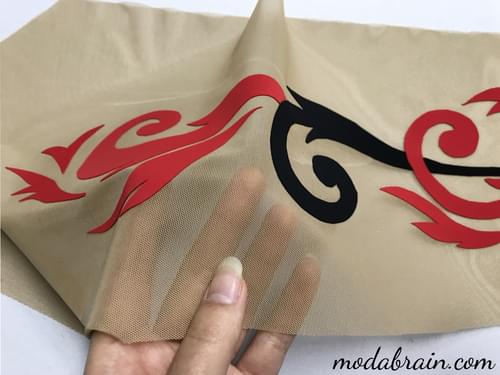
After I ironed the entire surface of the supplex with a steam generator, I let the fabric cool for 20 seconds, and then peel off the ready-made thermal biflex from the film.
Fixing the application and its customization
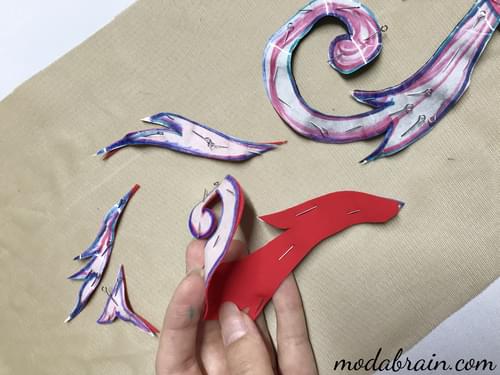
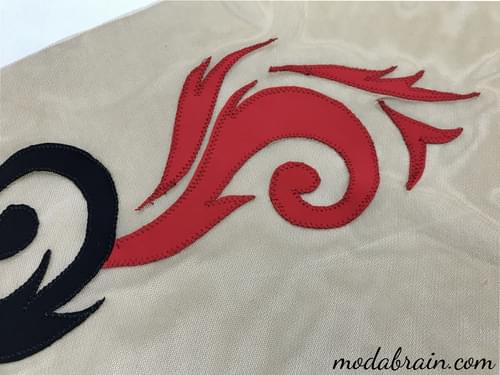
I pin the application patterns to the thermobiflex with pins and carefully cut out the pattern.
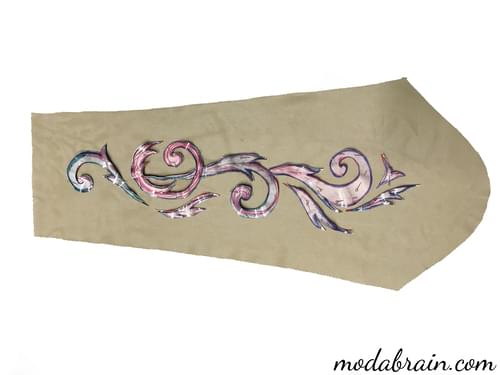
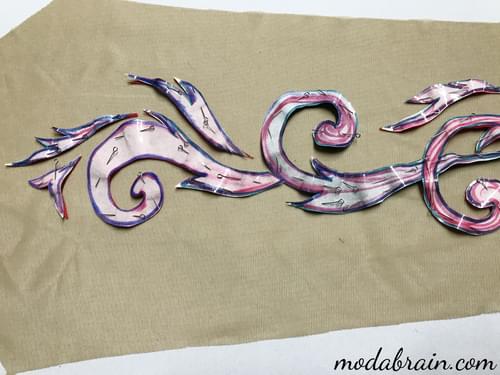
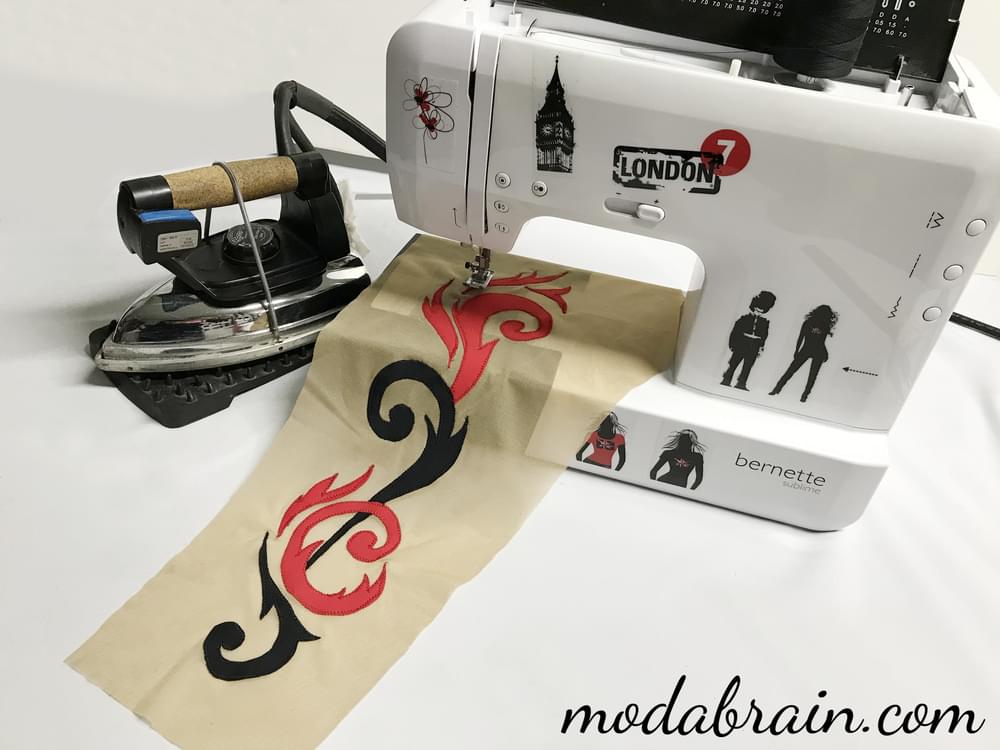
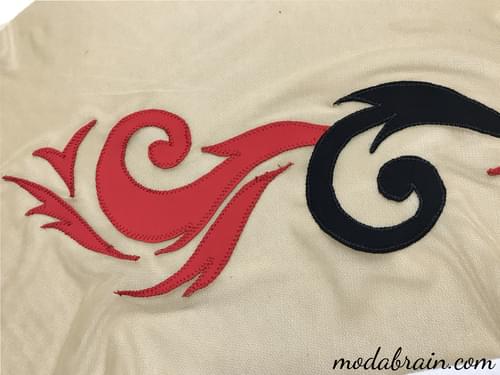
Then I put the applications on the grid, cover with an iron and fix it with an iron on the grid.


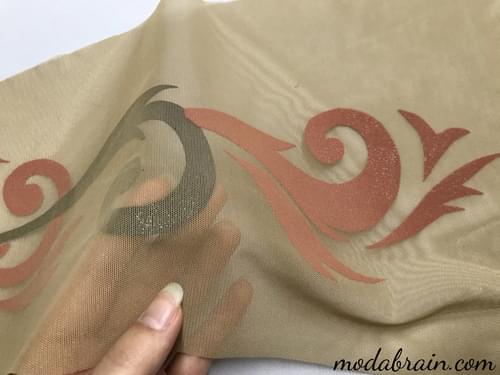
Now my appliqué is securely fixed on the base and I can easily stitch it without fear that my appliqué will move at least one millimeter.
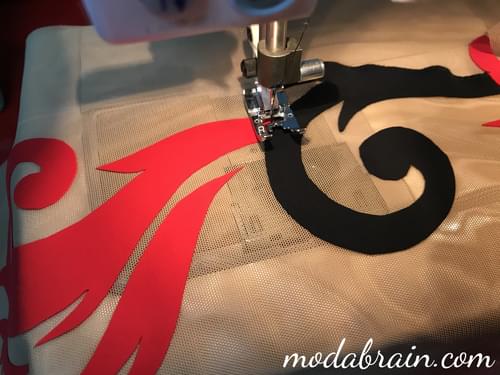
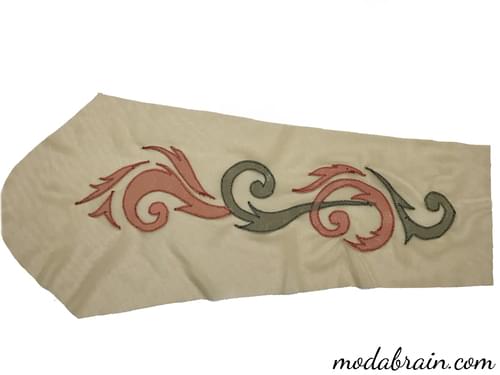
That’s all! My application is ready!
As you can see, everything is very simple. With the help of your own thermal fabric, you can now bring all your craziest ideas to life. I hope that my article has greatly facilitated your work. Thank you for reading my article. Please share with me your opinion about the article in the comments below, so I will know that the work I have done is useful to someone ![]()