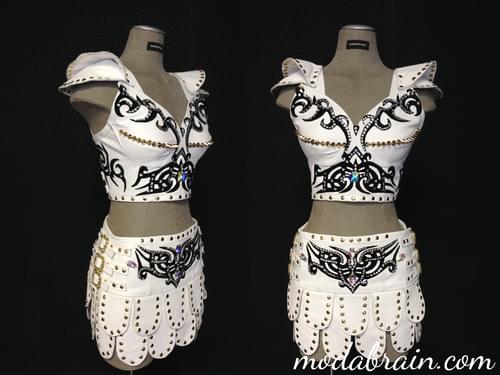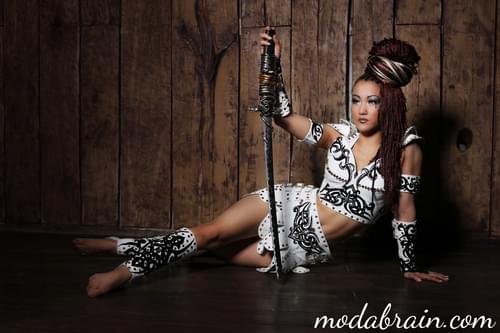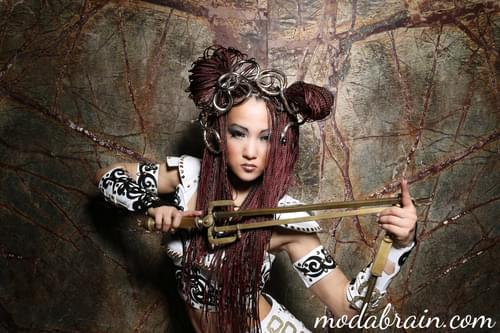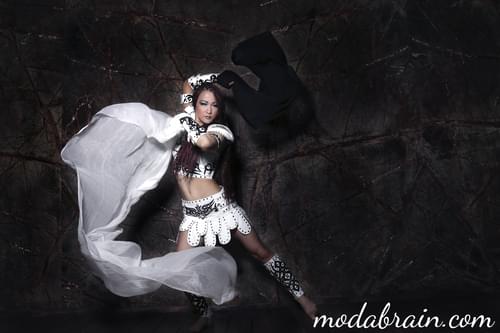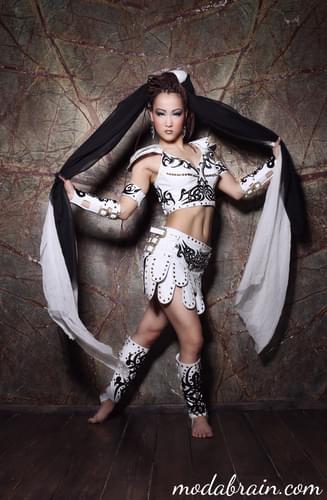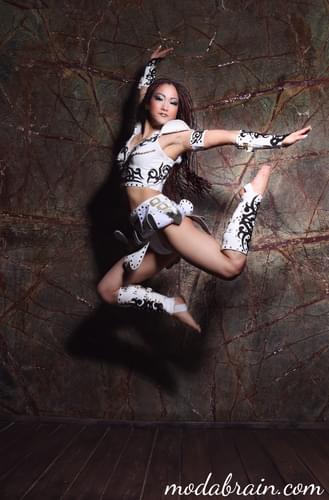
I will tell you how the costume for the aerial gymnast who works in the circus number “Xena - Warrior Princess” was created. The costume was sewn in a single copy in 2014. At the request of the customer, the costume was made in white from genuine cattle leather.
Content
- Required materials
- Drawing a sketch
- Purchasing leather
- Purchase of fittings
- Drawing ornaments
- Preparation of applications
- Creation of models and samples
- Cutting the suit
- Tailoring of costume details
- Decorating with holnitens
- Decorating with hot fix rhinestones
Necessary materials
- Genuine white cattle leather (approx. 280 sq.dm)
- Genuine black suede
- White supplex for lining
- White calico for layout
- Threads for white and black leather
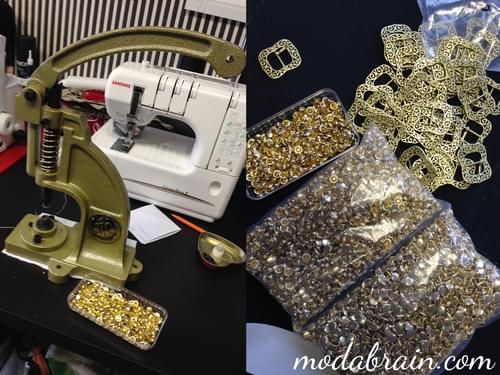
- Golden holnitens (bought from Protos and K)
- Gold colored spikes
- Gold-colored buckles (bought from Protos and K)
- Sew-on rhinestones “Swarovski” (drops, ovals and squares)
- Hot Fix Rhinestones “Crystal” 20ss
- White elastic band (width 2 cm)
- Glue Moment (Crystal)
Draw sketch
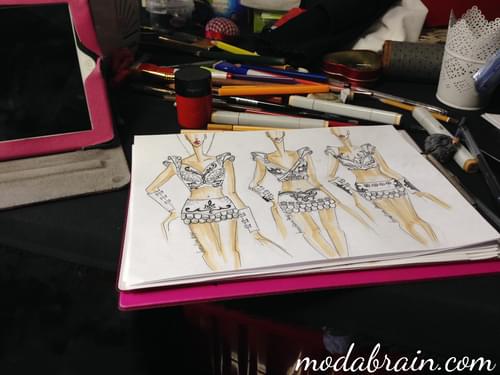
As always, work on a costume begins with drawing a sketch.
Purchasing leather
The hardest part was finding leather that matched in color, texture, softness, and strength. The artists and I went around several warehouses, but nowhere was the leather that we needed: either the color was not boiling white, or the dressing was rough, or the skin was too thick and hard, or it was easily torn (the artist checked it with her own hands on gap).
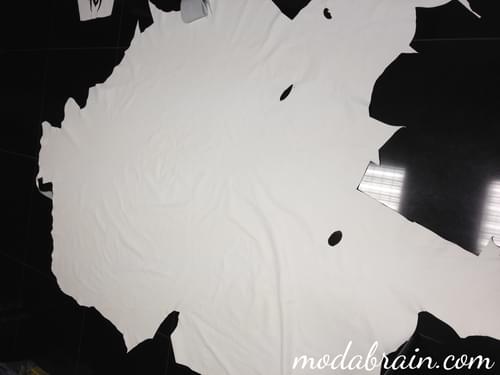
For the application, black suede was found very quickly: it was soft and very pleasant to the touch. With white skin, I had to suffer a little, looking for it in all leather warehouses in Moscow. But our searches were crowned with success and the snow-white soft skin of cattle was found. It was sold in large quantities and we thought that this would be too much, but in the process of work it turned out that there was no surplus left. In the photo you see an already cut sheet of skin, sometimes we forget to take a photo on time.
Purchase of fittings
For accessories, we first went to specialized stores for those who sew, but do not repeat this mistake. First, there is not a very large selection. Secondly, there will not be the required number of buckles or holnitens, and thirdly, the purchase there will be very expensive, which will entail a significant increase in the cost of the costume.
Do not rush to install holnitens and spikes in a special workshop either, since the price of installing such a number of holnitens will cost you very, very expensive. And it’s not a fact that you won’t spoil the thing.
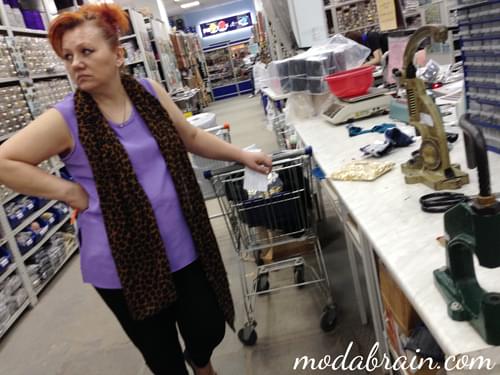
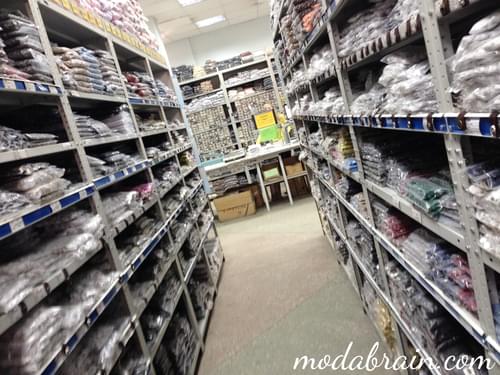
After searching the Internet for the necessary fittings, we decided to go to the Protos and K company. This warehouse is now our priority. There is a huge selection of all kinds of “baubles” for sewing. I will definitely review this warehouse in a separate article.
In this warehouse we found everything we needed and in large quantities. Golden spikes and holnitens were chosen, but to install them we also needed to buy a special press from the BIG company with additional nozzles - for punching holes and for installing holnitens.
Drawing ornaments
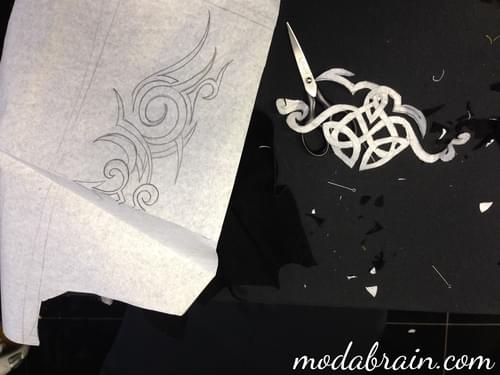
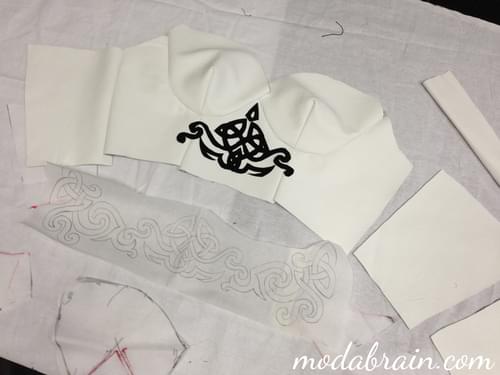
Drawing a beautiful ornament is not a problem, but it also needs to fit beautifully on the costume detail. When drawing ornaments for the costume, I was inspired by Celtic patterns. First, I drew them on tracing paper, which is better to glue with adhesive tape, then I cut it out and made patterns of patterns.
Preparing applications
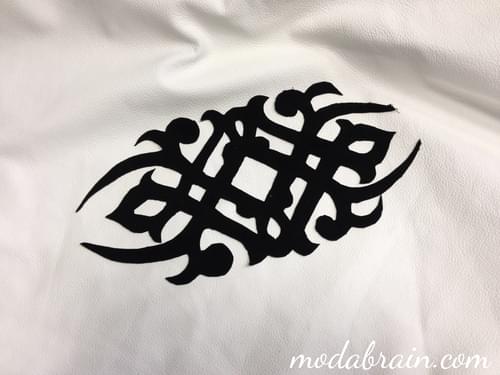
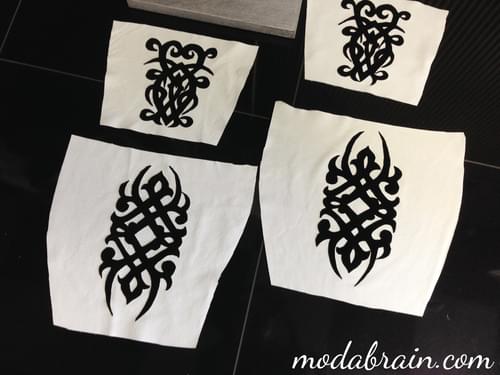
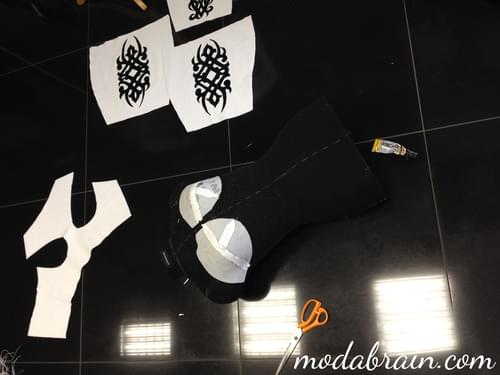
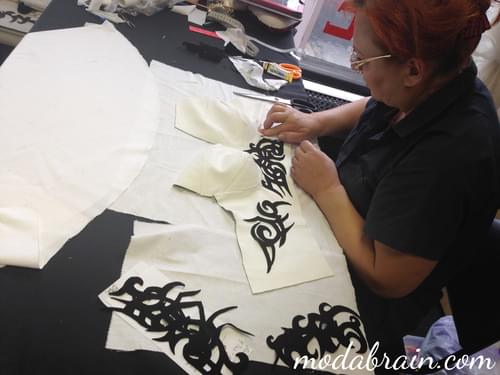
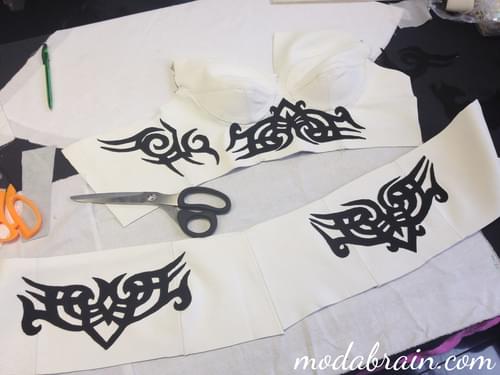
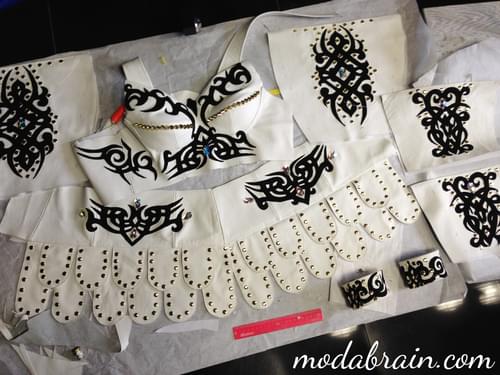
From black suede, I cut out ornaments for leggings, cuffs and bodice.
Creation of mockups and copies
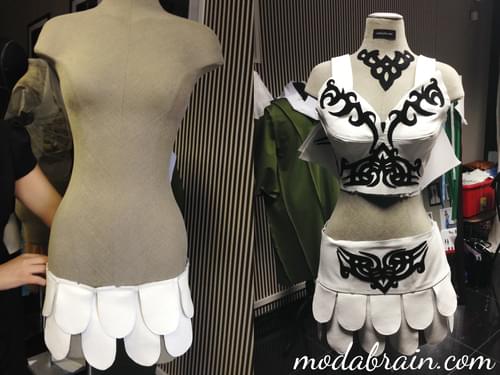
I made a model of the future costume from thick bed linen. The bustier and skirt with flying parts were made using the fake modeling method (tattoo on a mannequin), and the panties were built according to the German method “Müller and Son”. Leggings and cuffs were also built. Then the layout was tried on by the artist and adjustments were made to the design.
Suit cutting
After the fitting, the layout was disassembled and I cut out all the details from the skin. First, cuffs and leggings were cut out, and then a bustier and a skirt.
After that, I cut out a lining from a white supplex. It is from supplex, and not from lining satin, because this material for gymnasts is comfortable, stretches well and also glows well under PRK lamps.
Tailoring of costume details
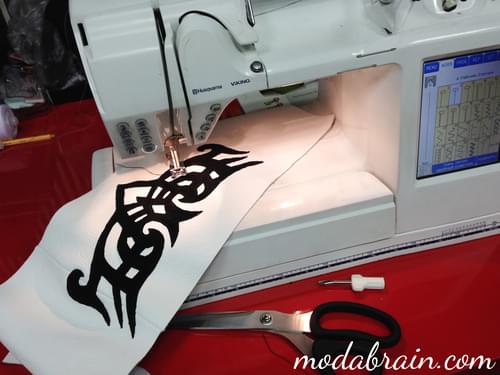
I sewed the suit on a Husqvarna Viking Designer - 1 sewing and embroidery machine. She sewed leather wonderfully, but I recommend that you do not risk such an expensive machine, but it is better to sew thick leather on a Juki industrial machine, because the Swedish machine is designed for other materials.
When sewing, the bustier was the most difficult. At first, I cut out the cups of the bodice in one way so that there were fewer fractional details, but I didn’t like it - they didn’t emphasize the artist’s chest and I recut the cups a second time.
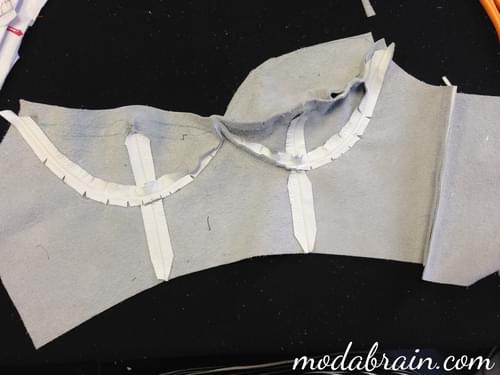
First, I connected the details of the cup together and the details of the base of the bodice. I smashed all the seams with a hammer in different directions, then I made notches in all rounded seams and glued all the cuts from the wrong side to the Moment “Crystal” glue.
Then I connected the cups to the base of the bodice. And again I broke the seams with a hammer and glued them, and then on the sewing machine laid the finishing seams along each seam on both sides.
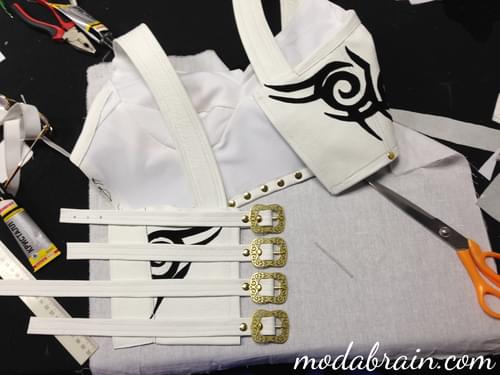
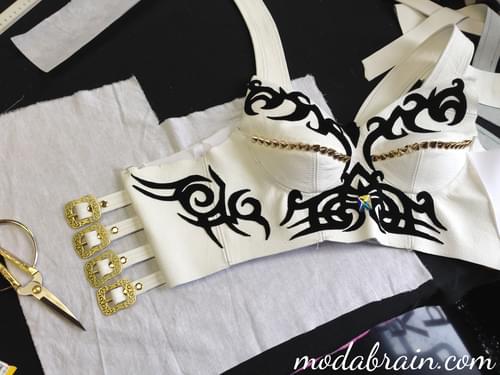
After that, I pasted the black suede appliques on the bodice and stitched them on a typewriter.
In the same way, I do everything with the upper part of the skirt, which consists of 6 parts. Since this is not a fabric, but leather and the undercuts would look very rough, I made embossed seams, which, after stitching, I broke and glued in different directions.
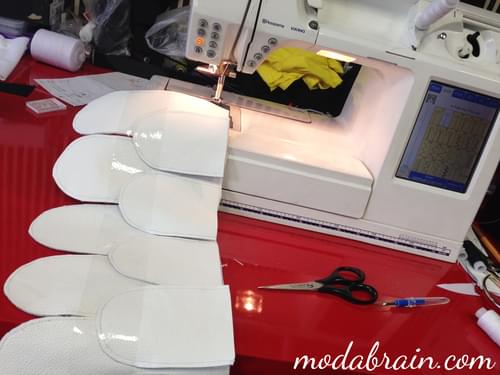
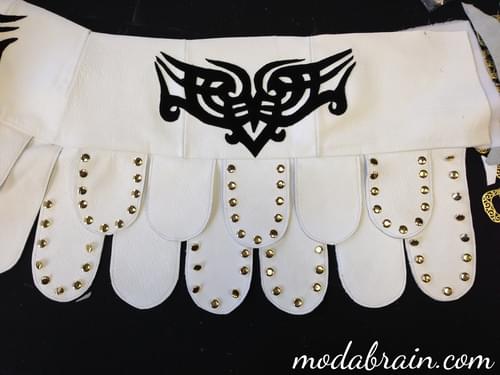
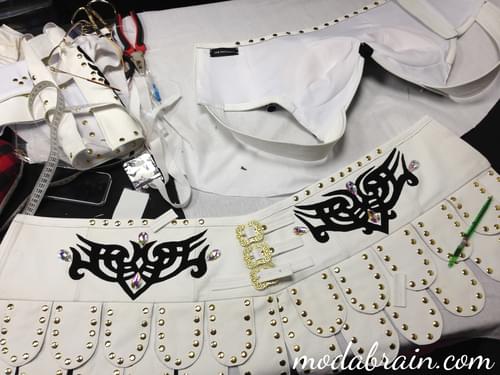
Next, I cut out decorative petals from leather, which will be located on the skirt in 2 rows. The top row of petals is shorter than the bottom petals. Since this costume is specific, it is for an aerial gymnast, so I made it taking into account the fact that she will fly in it under a dome, turn upside down, doing all kinds of tricks. To make the leather petal look aesthetically pleasing from the wrong side and also glow under the PRK lamps, I sewed a white supplex on the wrong side of the petal.
After that, I, having beautifully laid them out, connected all the petals with a machine stitch. Then I connected it to the top of the skirt. Then I glued and stitched an applique of black suede on the upper part of the skirt.
Decorating with holnitens
The next stage in the creation of the costume is the installation of holniten (staves). At first I wanted to decorate with them not all the petals, but after one, but it seemed a little and it was decided to install holnitens on each petal of the skirt, as well as on the cuffs and leggings.
On the middle transverse seam on the cups of the bodice, I manually sewed a number of spikes, as well as large Swarovski rhinestones of 2 types and glue rhinestones of the color “Crystal” 20ss.
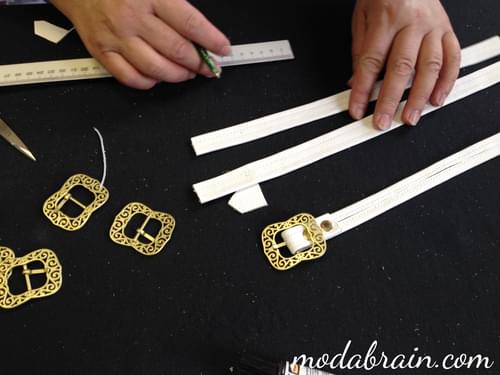
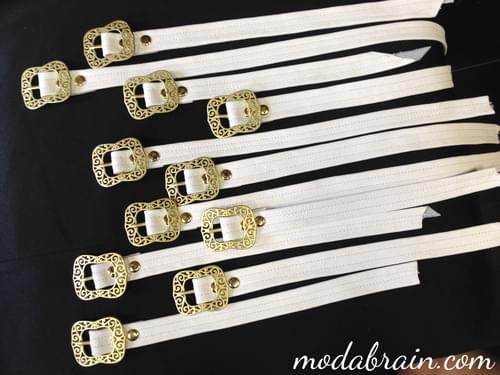
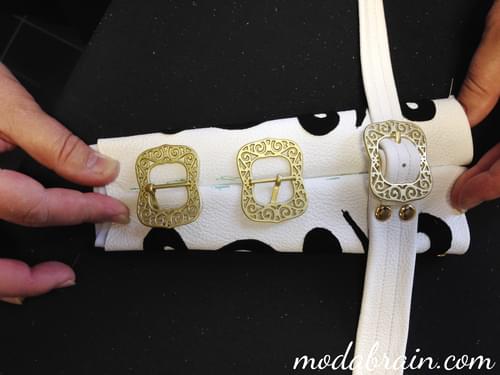
Then I cut many strips of leather for buckle straps, which were used to decorate cuffs, leggings, bustiers and skirts. It was these straps that took a lot of leather.
First I sewed these straps, and then I installed buckles on them with the help of holnitens. The sizes of the straps are different everywhere, their length was set during the fitting with the artist.
On the back of the bustier, I installed with the help of holniten 4 straps on one side and the other. On the upper part of the skirt, 3 straps were installed on the sides, as well as on leggings and cuffs.
Then I connected the bodice and skirt with a supplex lining, and then processed the top, bottom and side edges of the bodice and skirt with leather.
It remains to cut out only decorative wings for the shoulders, which I also made from leather. On each shoulder I had two wings, which I decorated with holnitens and fastened them to the straps of the bodice using the same holnitens.
Embellished with hot fix rhinestones
I decorated the suede appliqués with “Crystal” hot fix rhinestones, size 20ss.
When the painstaking work on Zena’s costume was completed, we made a photo session with the artist in a professional photo studio “Cross-studio”. As you can see from the photo, the costume on the mannequin looks beautiful, but live on the artist it is simply amazing!
Thank you for reading my article. It was long, but in a nutshell it was impossible to describe the process of working on such a technologically complex costume. I hope that my Xena costume and photo shoot will inspire you to create your masterpieces! Don’t be afraid to work with leather and new materials. The result will surely please you! You can ask me all questions here in the blog, below under the article. I will be grateful to you for the likes! It is very important for me to know if you like what I do and whether it is worth writing new articles.
