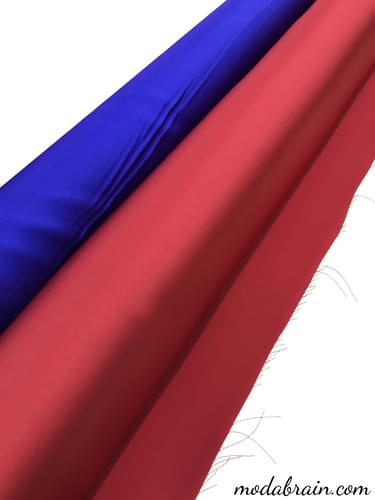
In this article I will tell and show you how I gradually created the fabric in red and blue stripes from the dense satin “Scarlett”, which I needed for sewing trousers in the Russian style. In my work, I often have to create some pattern or texture on the fabric myself. Someone may say: “Isn’t it easier to buy fabric in a store?”. Unfortunately, it only seems to a beginner in this business that the fabric store has any fabric that your imagination desires. But in fact, it is difficult to find even an elementary striped fabric in a store 🙁. I don’t just want a red and blue striped fabric, I want a thick satin that doesn’t leave any tangles, it needs to have a nice sheen, not a cheap one. Red and blue color should have a rich hue, not faded or dark. In addition, I need a strip of a certain width: about 2.5 - 3.5 cm, no less and no more. Therefore, there is no other choice but to create the fabric I need with my own hands 😃.
Content
- Required materials
- Cutting fabrics
- Sewing strips
- Slicing
Necessary materials
- Satin blue “Scarlett”
- Satin red “Scarlett”
Cutting fabrics
Striped fabric can be made in several ways. Most often, if I need a strip on the fabric, then I make strips from thermal fabric (see how to make thermal fabric here. But in this case, my strips had to be from satin, which is not quite suitable for creating thermal fabric. So I chose a different way to create this striped fabric.
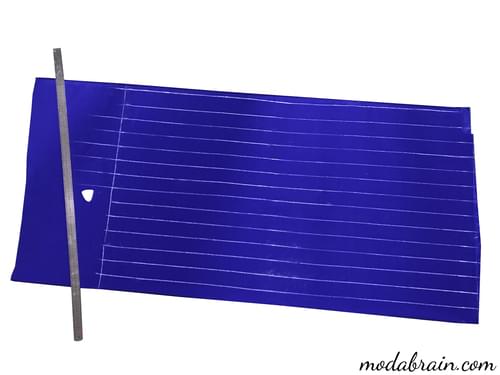
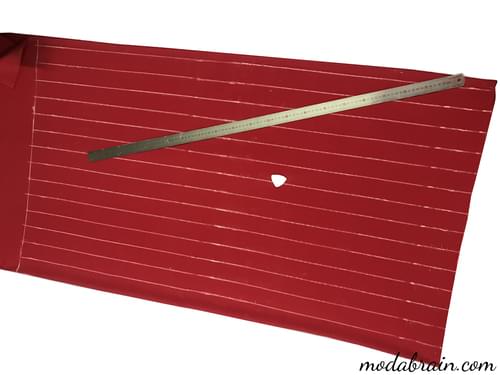
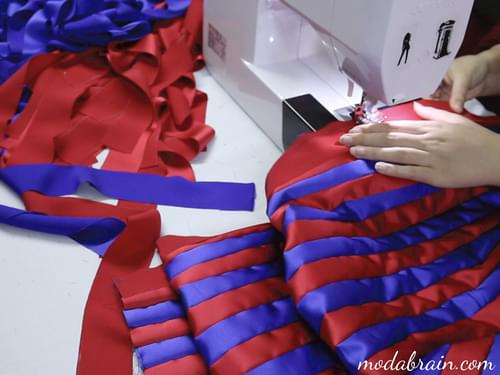
First, I drew 5.5 cm wide strips on the fabrics with chalk so that the finished fabric would have 3.5 cm wide stripes.
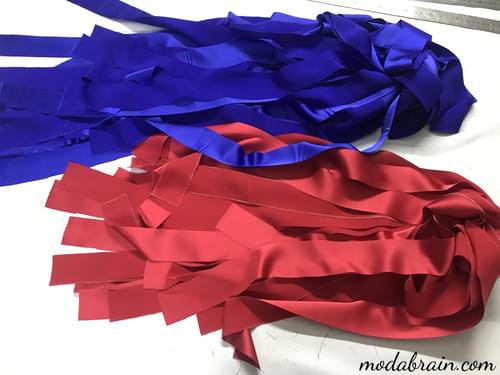
After cutting the blue and red fabric.
Sewing strips
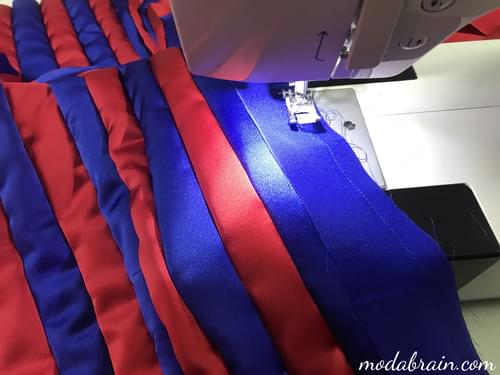
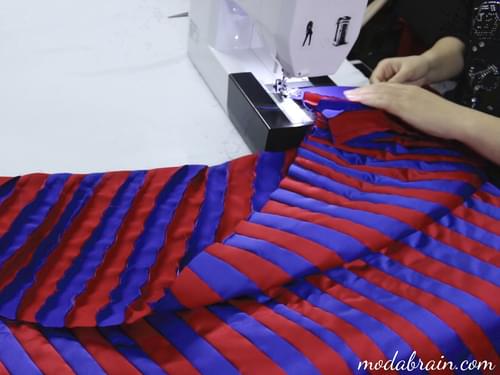
Then she began to grind the sections of the strips together with a straight stitch on a sewing machine.
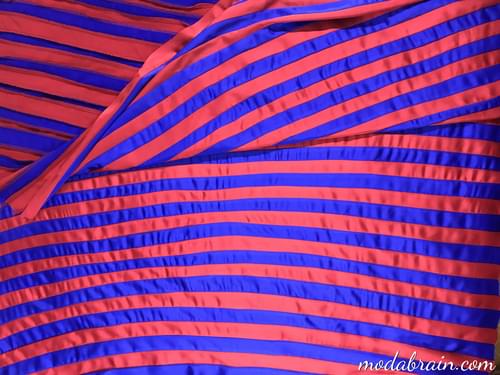
And I got such a nice stripe 😀, but of course, my work on this fabric is not over yet 😅.
Slice processing
Now I need to process the stitching strips. Sections must not be left unfinished. Firstly, it is simply ugly and unprofessional, and secondly, the untreated fabric will constantly crumble. Sectioning is required.
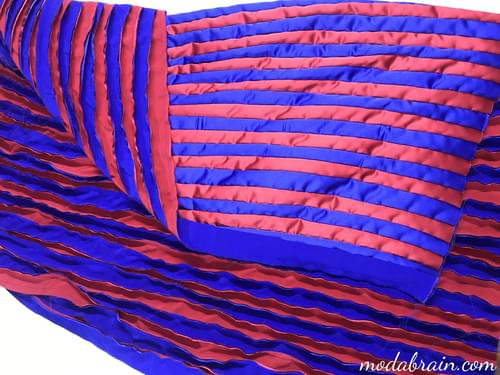
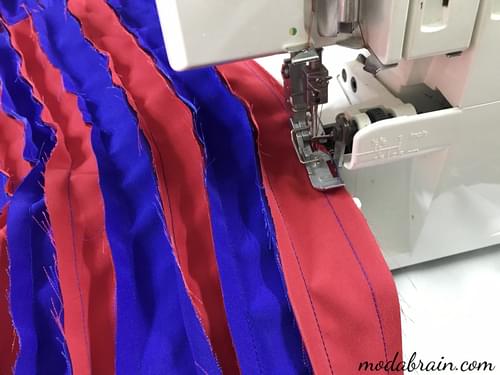
I processed the cuts on the overlock sewing machine.
It remains only to carry out the WTO, iron all the seams and my fabric is ready.
As you can see, there is nothing complicated in creating a striped fabric. Although it takes a lot of time, but the result is worth the time that I spent on it. Most often, even if I find a fabric with the right pattern in the store that suits me, I still make my own fabric for several reasons. The first reason is that artists really like it when I do not buy ready-made fabric with ornaments in the store, but create such fabric myself especially for them. In such cases, they feel special, realizing that no one else has this 😀. The second reason is that in this way a suit sewn from fabric with an ornament of one’s own making is more difficult to copy.
Artists’ costumes are very often copied by their competitors, and if I use fabric with ornaments bought in a store, then such a costume can be copied almost one to one, which will not please both the artist for whom I sewed the costume and me. But it is unlikely that someone will bother to create such a copy and make fabric with their own hands. Therefore, meeting a copy of your costume is reduced to zero 😃.
If you want to know how I sewed trousers from the resulting fabric - read my next article here.
Thank you for reading my article. I hope that the lack of the fabric you need in the store will not become an obstacle for you in creating the costume of your dreams. Please do not forget to put likes or dislikes, and also write comments below under the article 😀✌🏽.
