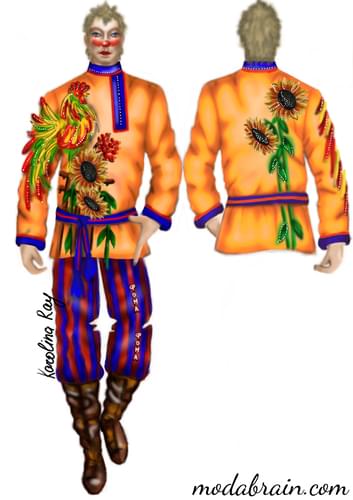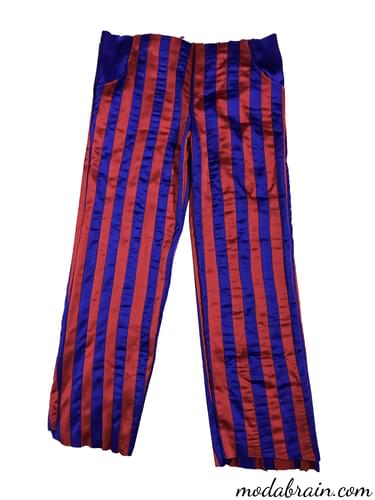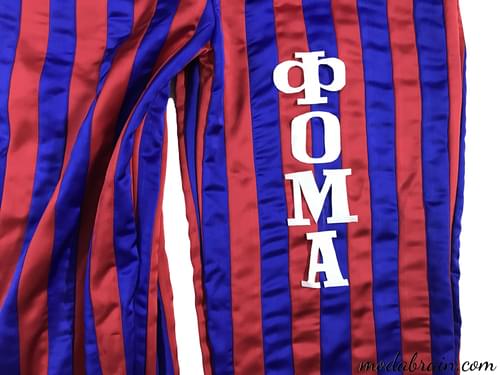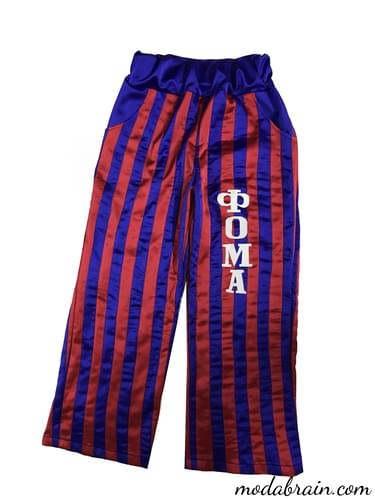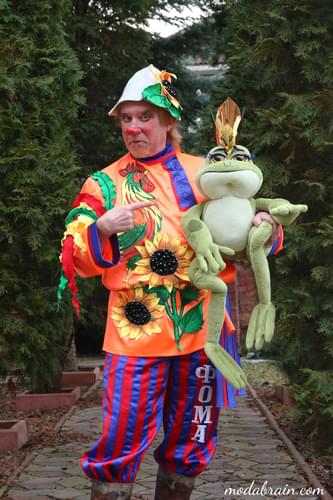
In this article, I will tell you step by step and show you how I sewed trousers from Scarlett satin fabric in red and blue stripes for a circus clown. I sewed these trousers in a set for an orange shirt with a voluminous application in the Russian style. I had to make the trousers so that they did not look pale against the background of the shirt, but at the same time, they should not overshadow the shirt itself. And how I did it - read in this article 😀.
Content
- Required materials
- Costume design
- Building and cutting trousers
- Pockets
- Sewing trousers
- Decorating with rhinestones
Necessary materials
- Red and blue striped satin
- White supplex
- Glue web
- Hotfix Rhinestones “Cristal” size 20 ss
Costume design
I drew the costume design on the iPad Pro 2018 in the Procreate program.
Building and cutting trousers
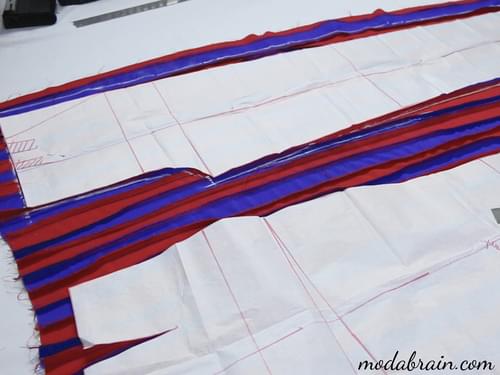
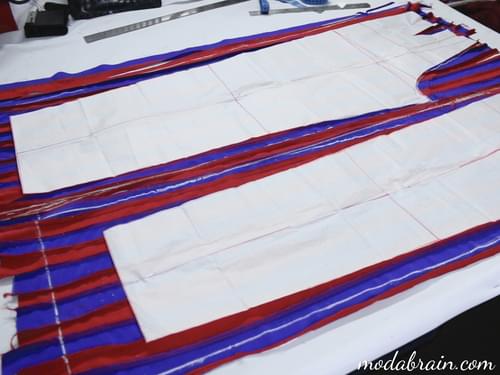
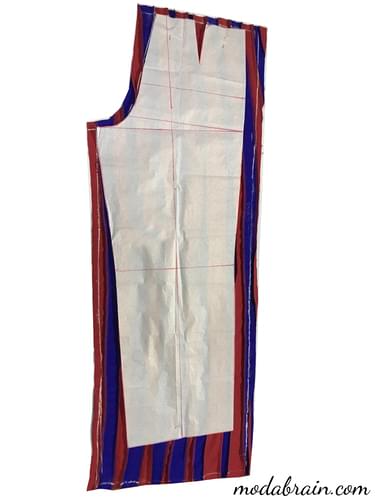
I built trousers according to my favorite method “M. Muller and son”. I use this technique more often than other techniques when building costumes. But I decided to cut the trousers a little wider than I planned when building. And how I created a red and blue striped fabric for sewing these trousers - read here.
Pockets
Initially, we were not supposed to have pockets on trousers, but the customer changed his mind during the fitting 🙂. Since these are not classic trousers, and I do not sew classic suits, therefore I do not always follow all the rules of tailoring technology. Of course, there are some rules in tailoring technology that must be strictly observed, but this case is not the same 😉. Therefore, I make everything very simple.
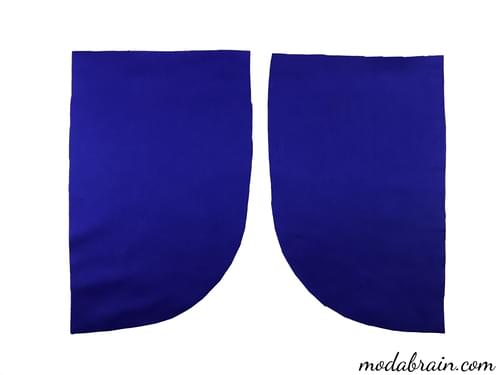
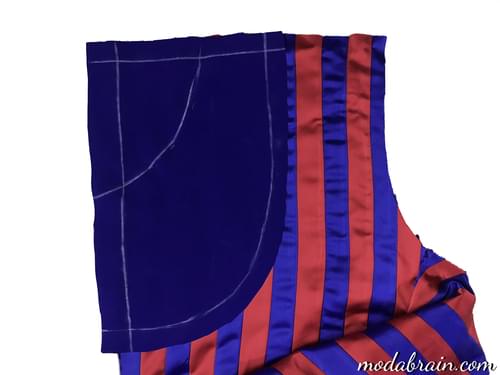
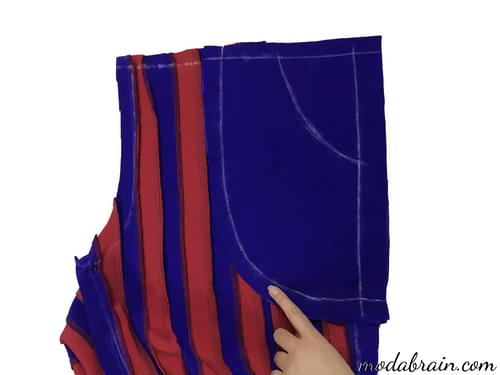
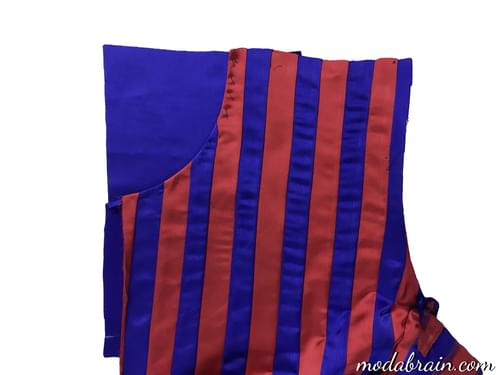
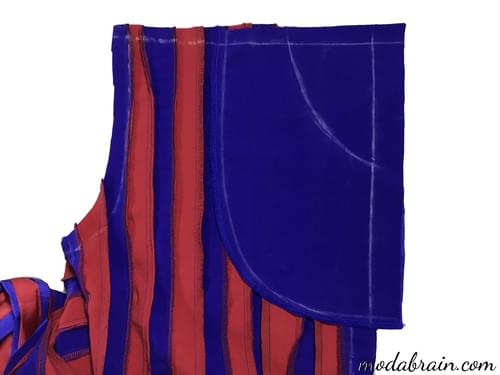
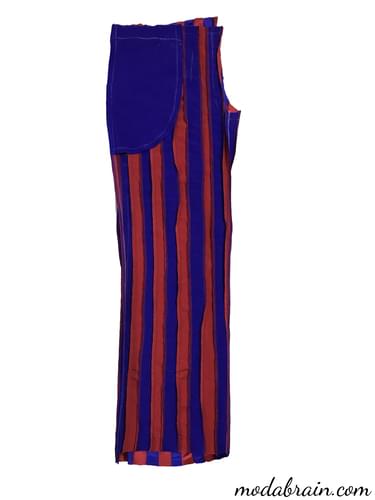
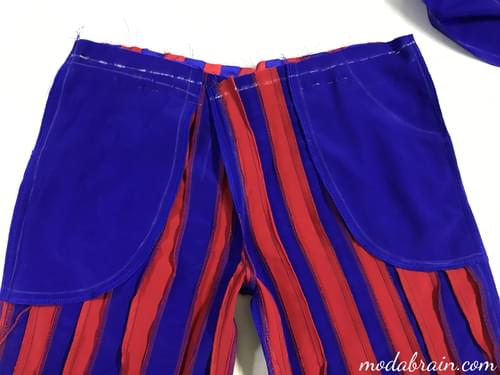
First, on the front halves of the trousers, I marked with chalk the place where the pocket will be located. Here I did not use the lining for the pocket burlap, but the main fabric, so I did not need a valance. I cut out four burlaps of blue satin fabric, two for each pocket.
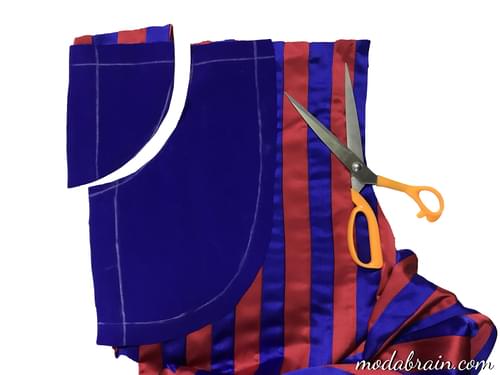
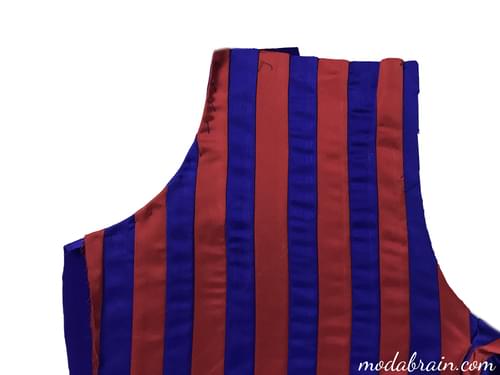
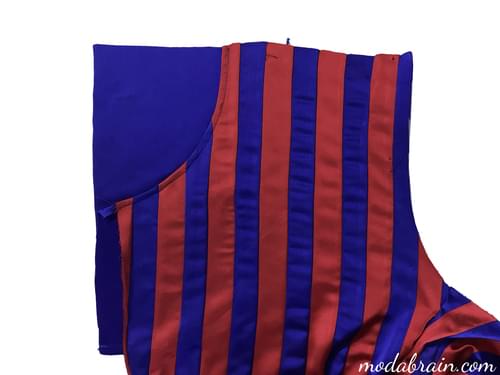
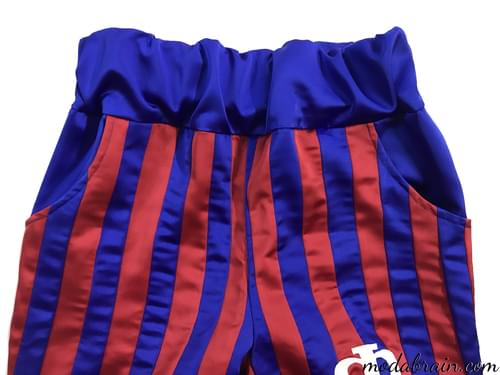
I connected one piece of burlap to the front of the trousers along a marked chalk line that defines the entrance to the pocket. Then I connected them with a machine stitch and cut out the excess fabric. After she turned the burlap on the wrong side of the trousers, swept the entrance to the pocket into the edge, ironed it.
Then I connected the burlap, connected to the trousers, with the second part of the burlap with a straight line and processed the edge on the overlock sewing machine.
Sewing trousers
After processing the pockets, I connected the front halves of the trousers with the back halves along the side and crotch seams. Next, I connected the two legs along the middle seam.
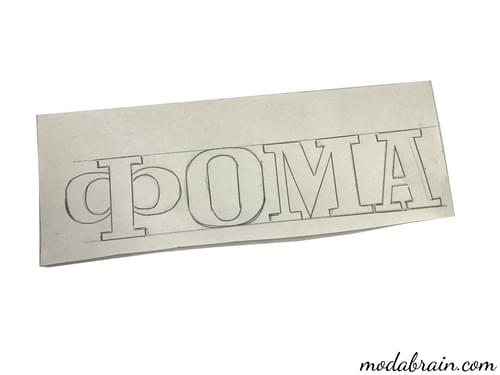
And, of course, after all this, I remembered that I forgot something 😅. On the front of the trousers, I had to scribble the name “Foma” carved from the supplex. This can be done after joining the trousers, but it is very difficult to get to the applique on the sewing machine if the trousers are already sewn. It would be much easier to scribble the name before connecting the front and back halves of the trousers together.
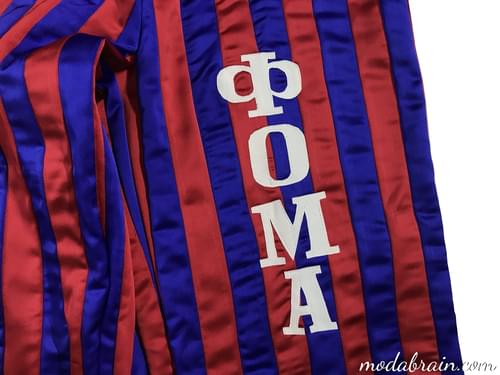
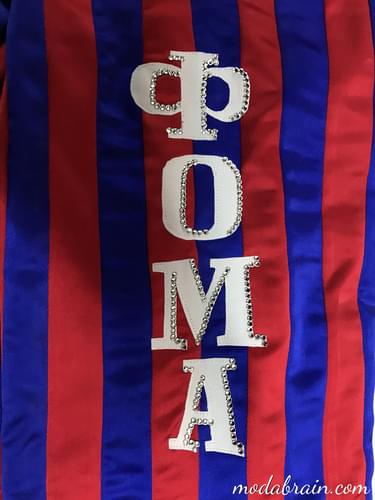
I cut out the name Foma from a white thermobiflex (how to make a thermobiflex see here then glued and stitched it on the front of the trousers.
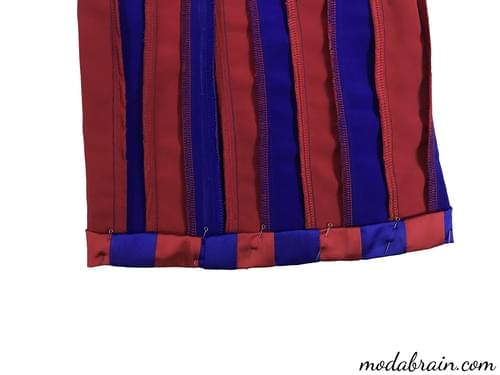
It remains only to process the bottom of the trousers and the top of the trousers with a belt. I made the belt wide with an elastic band.
Decoration with rhinestones
I decorated the supplex appliqué with 20 ss hot fix rhinestones.
Finally, the pants are ready 😀.
As I wrote at the beginning of the article, it was important for me to make the trousers so that they complement the shirt, and not overshadow it. And in my opinion I succeeded. 😃 The bright shirt and sunflowers shine even more against the background of the trousers, despite the fact that the trousers themselves turned out to be quite bright.
Thank you for reading my article. I hope that it was useful to you and that you can sew your trousers according to my instructions. Do not forget to like and write your comments below the article 😀.
